Module "Digitally sign a document"
1Prepare the signature process
To be able to sign a document digitally, placeholders must be set in the first step in the places where the signature is to be made.
To do this, click on the place where you want to insert a placeholder.
Then click on the eSign button in the tool bar above.

If you sign yourself, simply click on your name.
To insert a new placeholder, select the "New placeholder" option.
A dialogue will appear where you can enter all the data required for the signature. At least required:
●First name
●Name
●E-mail address
Fields "Company" and "Position" are optional. It would appear pre-filled in case you've already provided this data during the registration or edited later in the user account.
If you need the "Position" field to be different from the one in user's account, simply edit it in the placeholder for signer and only the one from the placeholder will be displayed in the signed document.

Click "Save" to set the placeholder.
You can adjust the placeholder information or delete it at any time by clicking on the placeholder and then clicking on the "Edit" or "Delete" button.
2Starting the signature process
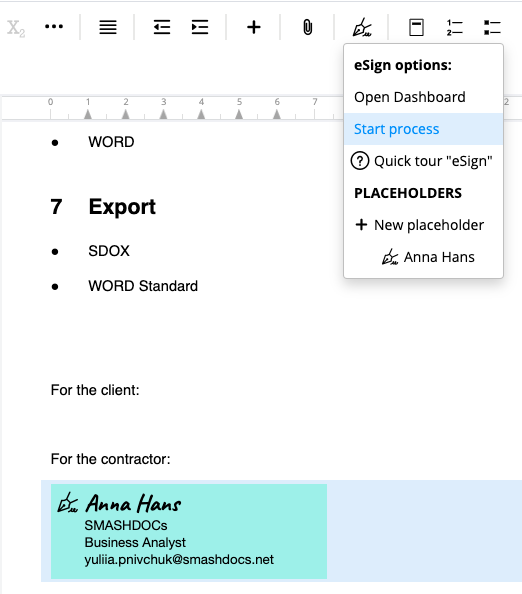
Once all required placeholders are set, click on the eSign buttonat the top of the toolbar and select the "Start process" option.
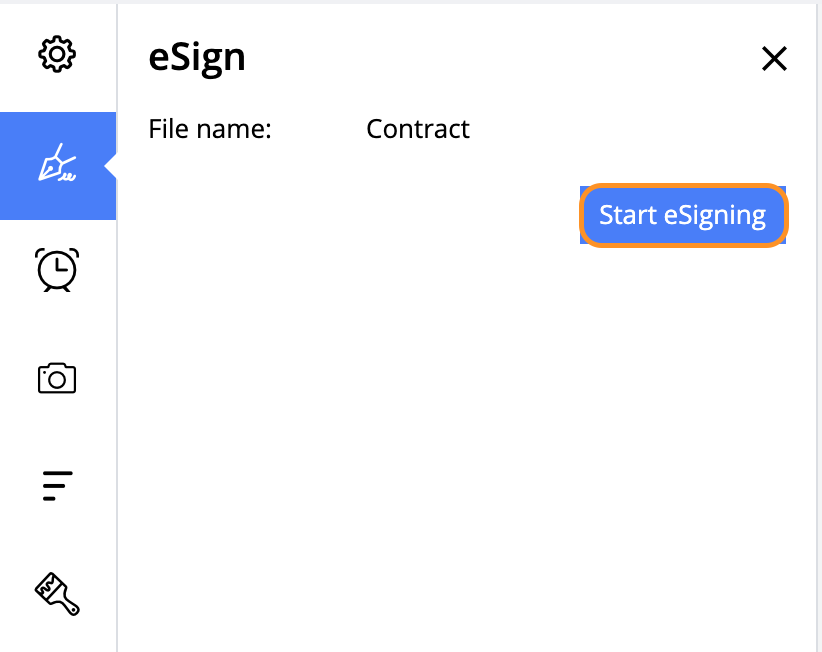
You can also find the button "Start eSigning" in the eSign-tab left.
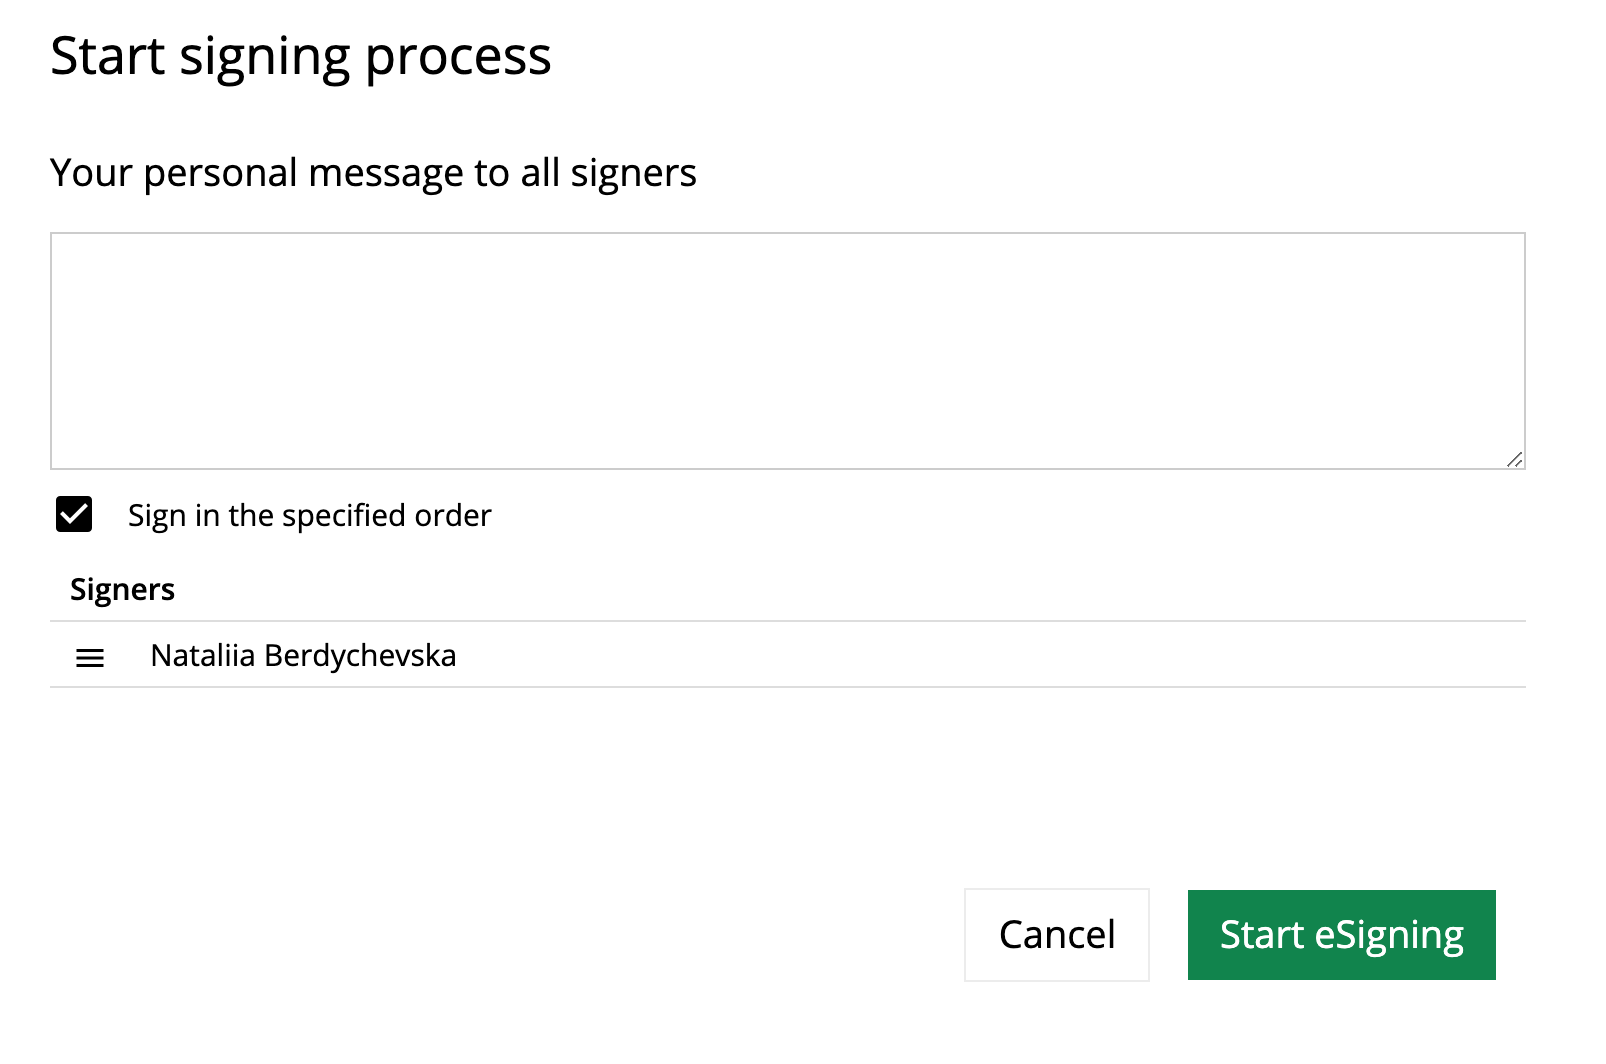
You can now (if required) create a personal message to all signatories and specify whether they can all sign at the same time or in a specific order.
If you want to sign in a particular order, you can change the order of the signatories in the list to suit your requirements.
Click "Start eSigning" to start the signing process.
Note
The signature process can only be started when all draft components have been released and there are no more open change proposals. If this is the case, a warning message appears.
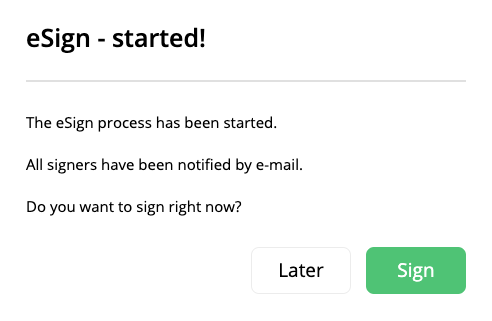
Once the eSign process has been started successfully, a short confirmation will appear. If you sign yourself, you can do so immediately.
3eSign-Dashboard in document
As soon as there is an eSign placeholder in the document, the eSign tab is displayed in the left tab bar in the document. Behind it is the eSign Dashboard, where you can always see the current status of the eSign process.
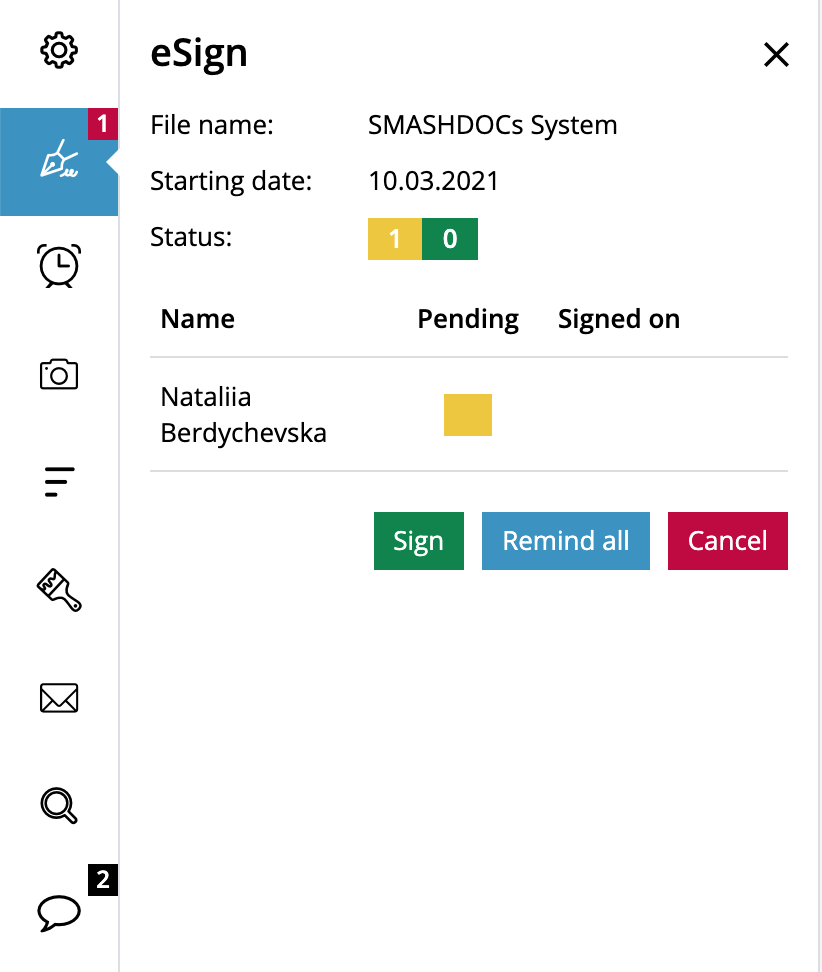
You can unfold it at any time by clicking on the eSign tab. There are also buttons "Sign", "Remind all" and "Cancel" on the eSign tab, by clicking which the corresponding process is launched.
As long as signatures are still missing, their number is displayed in red.
4Creating a version after eSign process starts
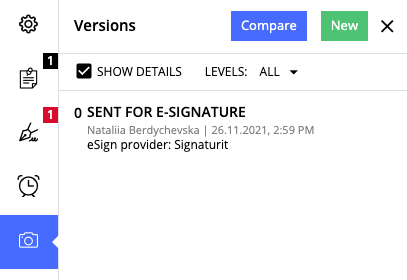
As soon as signing process begins, a version of a document sent for e-signature is automatically created. You can find this version in the list of versions in the corresponding tab left.
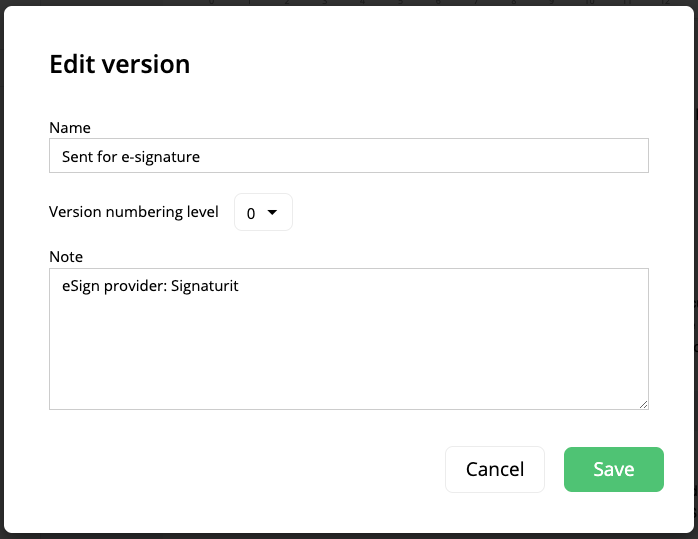
As each version, you can edit and download this version as .sdox and .docx. You can edit version's name, numbering level and note in version dialog-window. Default text is inserted in fields "Name" and "Note": name - "Sent for e-signature", note - "eSign provider: Signaturit".
5Signing
All signatories have now received an e-mail with a link that takes them directly to the signature page.
Note: all e-mails about start, cancellation and reminding about eSign-process are sent in the document language.
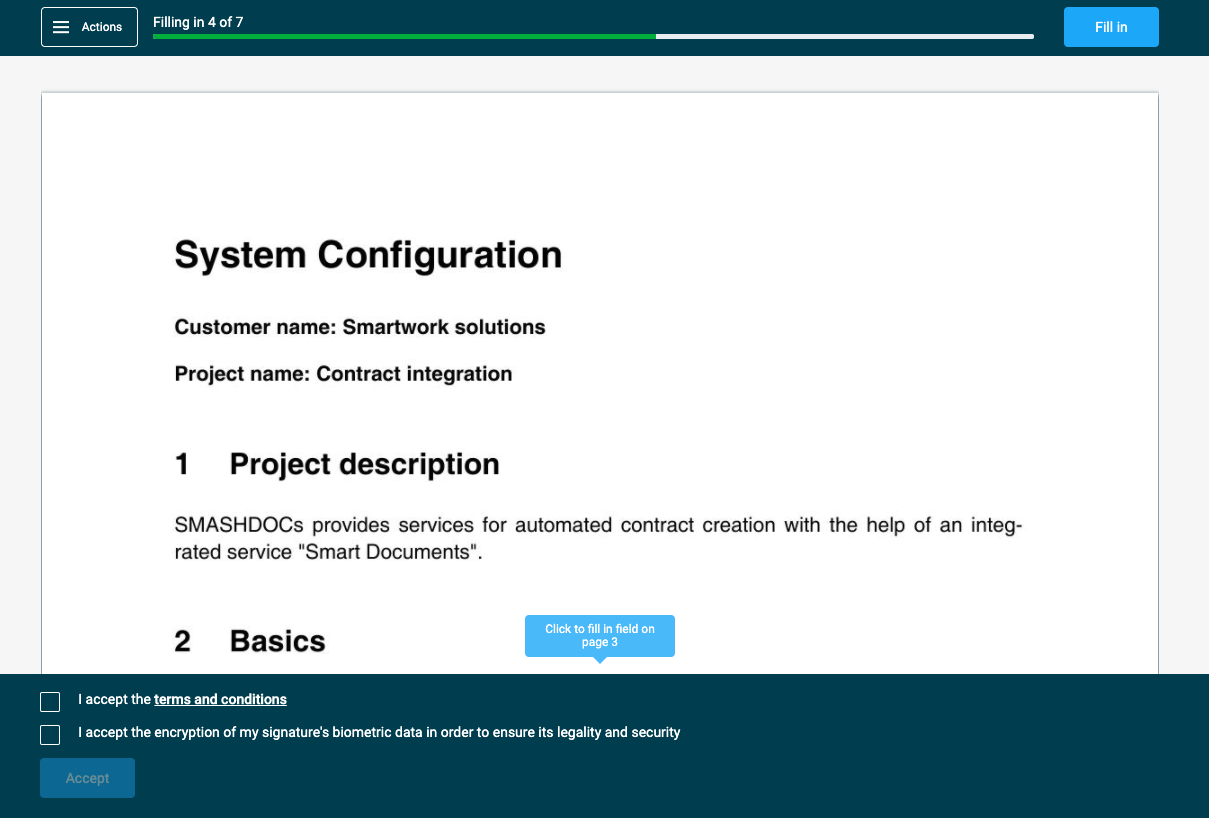
Click on "Fill in" to navigate to the place where you want to sign.
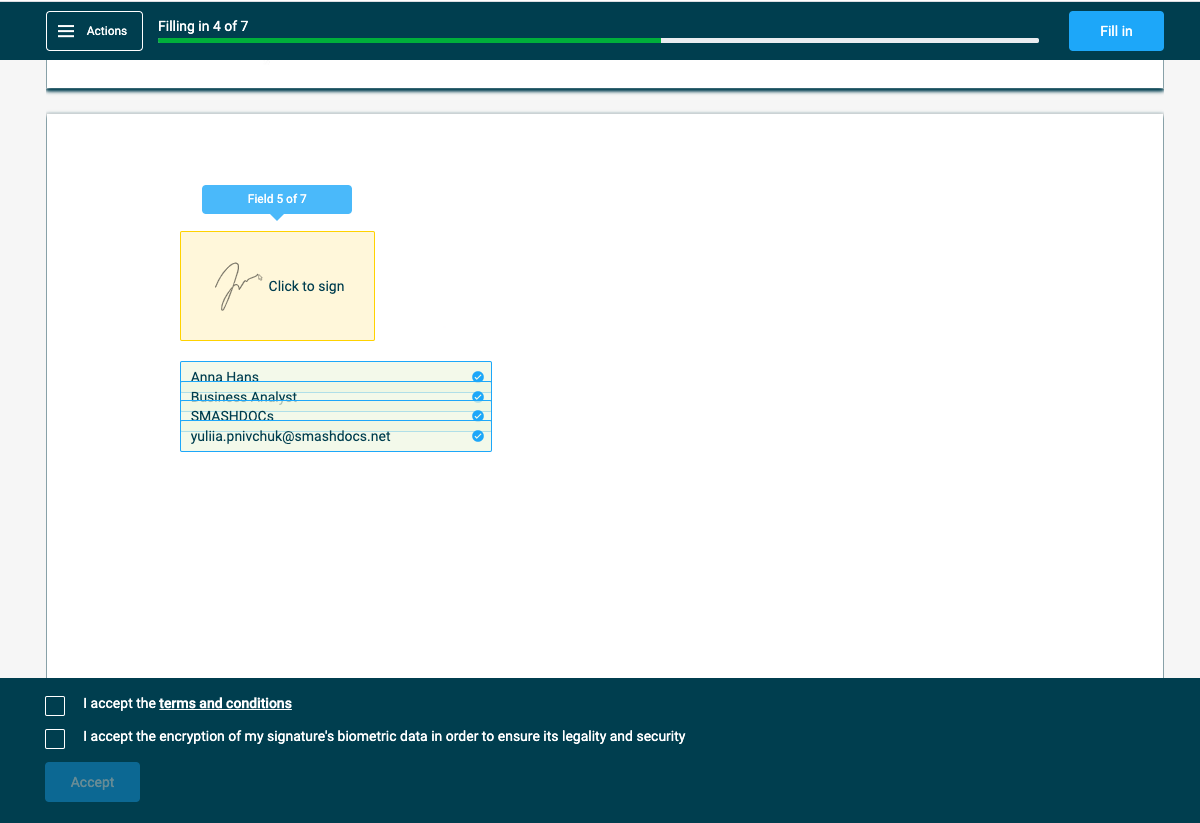
Click on the yellow field to sign.
Now you can sign. By the way, you can also do this conveniently via your mobile phone by scanning the QR code on the left.
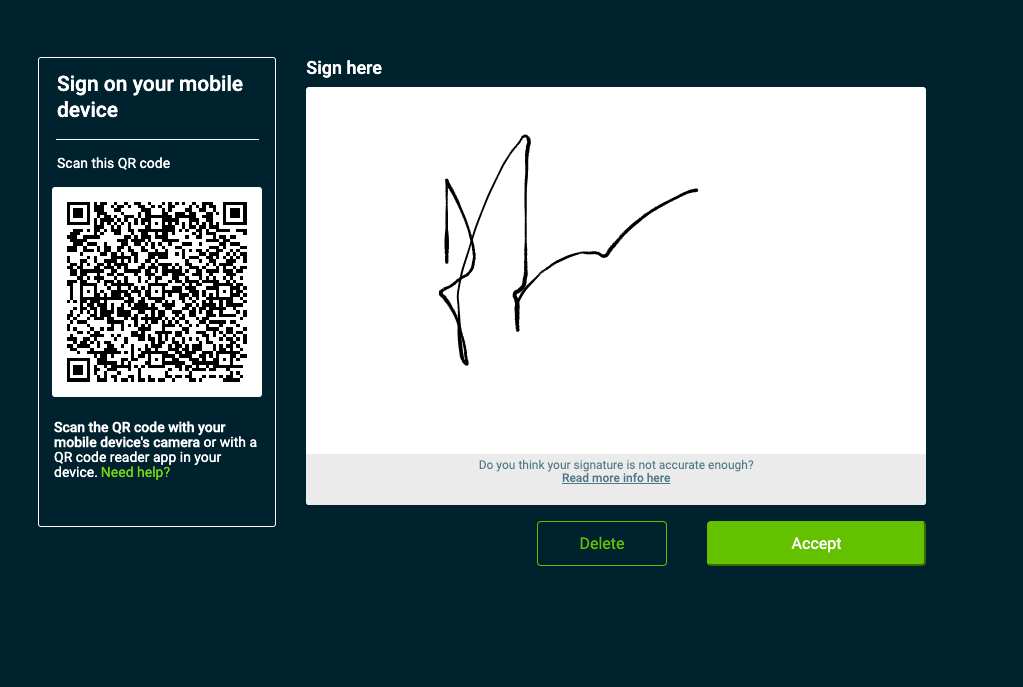
After signing and clicking on "Accept" you will see all data in the document.
Finally, check both checkboxes in the lower left corner and click on "Send document".

6Receive the document signed by all
As soon as all signatures are available, you will see a green tick on eSign-Tab in the document.
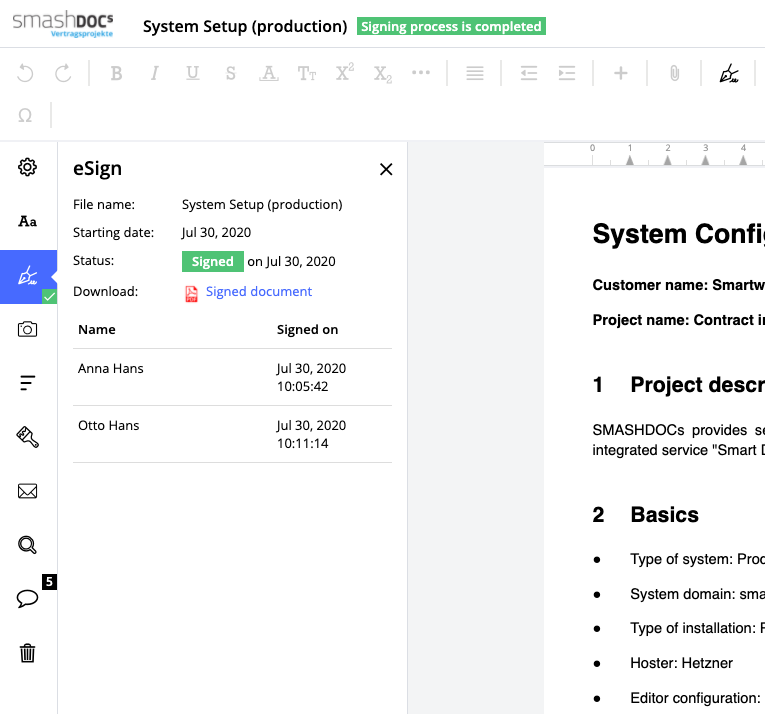
The signed document has already been automatically sent by e-mail to all signatories. It can also be downloaded from the eSign Dashboard at any time.
There is also an opportunity to follow the total and remaining number of prepaid signatures. This information is displayed in the avatar-menu below, together with the end date of available eSigns.

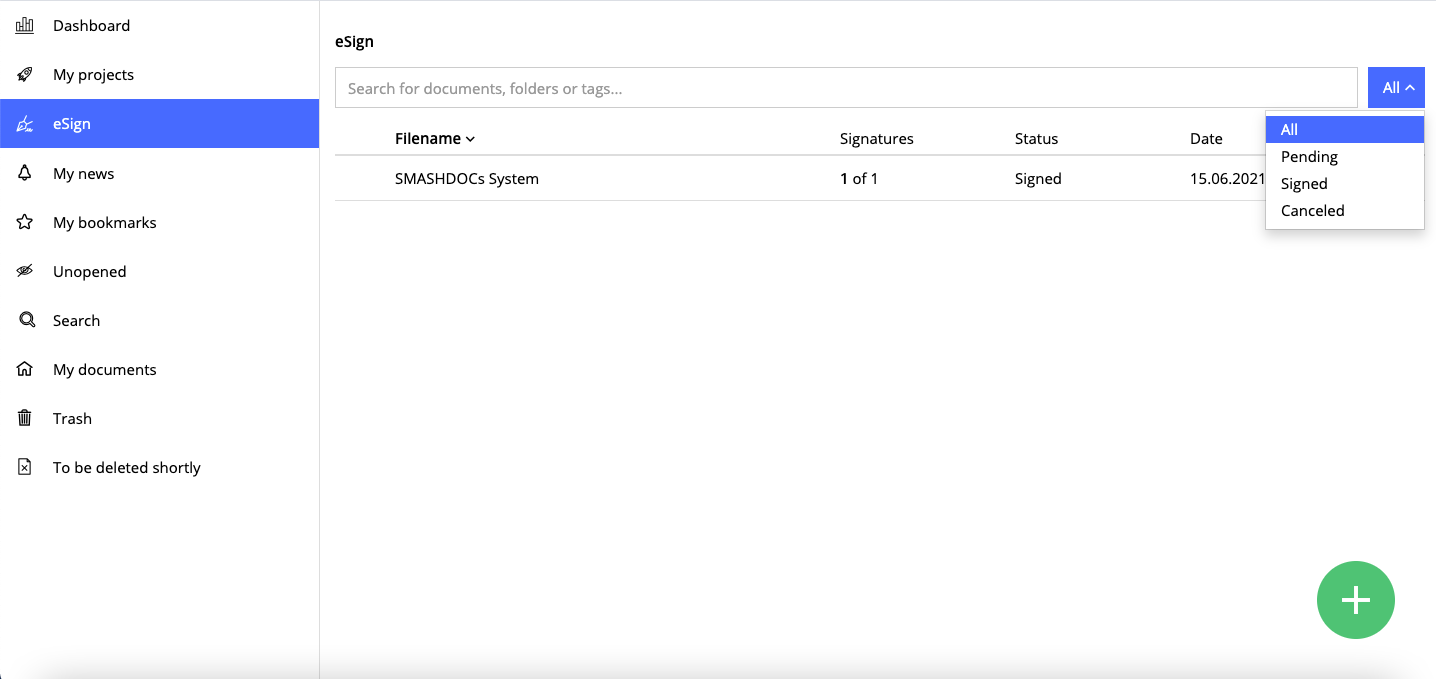
7eSign-Dashboard on the homepage
Parallel to the eSign Dashboard in the document, there is also an eSign Dashboard on the start page.
There you will find all documents that
●are currently in the eSign process,
●have been signed in full, or
●whose eSign process was canceled.
8Limitation to internal users in the eSign process
The important part of information about signing procedure is that in order to have access to eSign process and be authorized to it automatically in the system you must be an internal user only.
Internal and external users are identified by Internal User Domains in the Admin UI page.
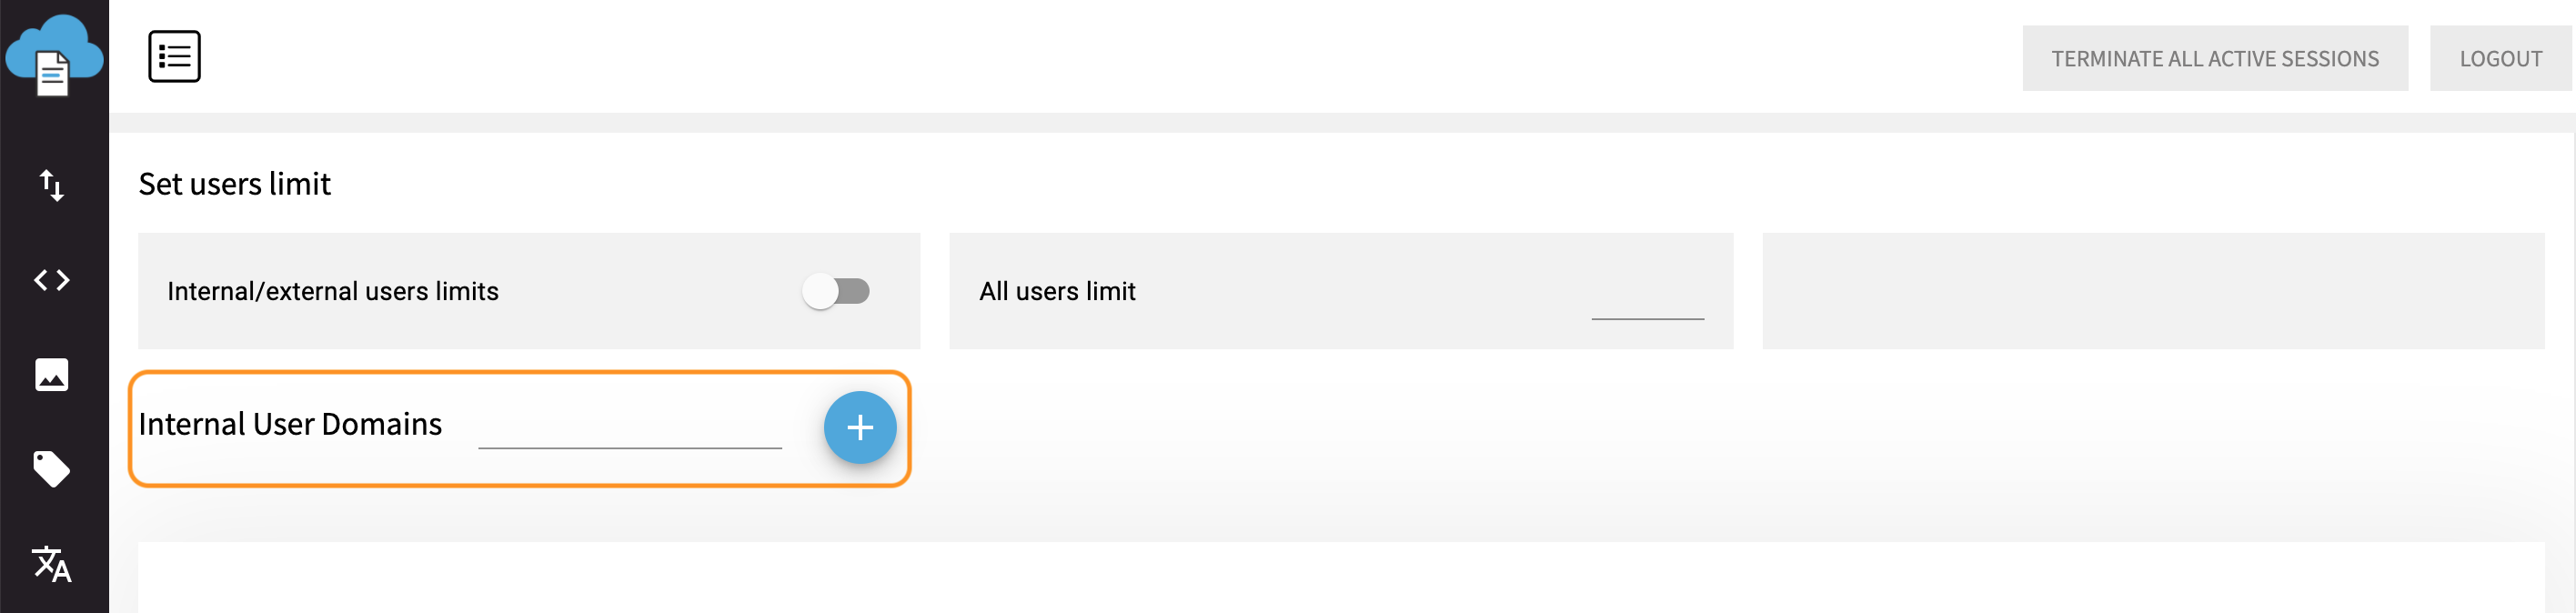
If the field 'Internal User Domains' is empty, this means that all users are external. To become an internal user, the address of your domain must be added to the field 'Internal User Domain'. To do this, insert the required address in the line.
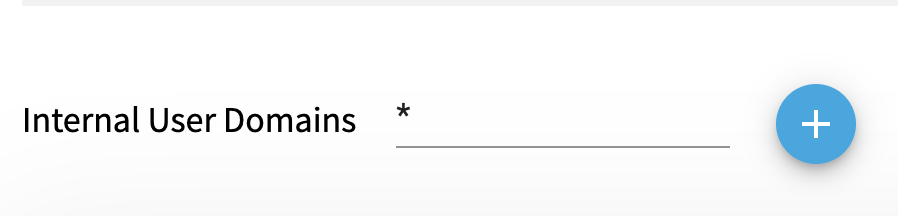
Also, if the field 'Internal User Domains' contains * symbols - all users are internal.
No matter, whether the signature feature is switched on/off in features settings in the Admin page, external users have no right to participate in signature process, these users do not have an opportunity to see eSign feature in the editor, they cannot delete or edit the placeholder with eSign data in a document and there is no eSign tab in dashboard in the editor for these users.
However, if there is a placeholder with external user data in the document and the eSign process is started, external users receive the eSign request per email and can sign it, but only through their email.
9System settings for signature
Insert three new environment variables in yml. file, in backend of the system in Docker Compose:
—SIGNATURIT_TOKEN=WDoMMuMeLGOFghrmxRyGkdeEXgdWdNFkMylfckhQHRddWrGAzjydGgKSKGjTegafwYijfVwbrxbBADUVYJnXxM
—CLOUDCONVERT_TOKEN=eyJ0eXAiOiJKV1QiLCJhbGciOiJSUzI1NiJ9.eyJhdWQiOiIxIiwianRpIjoiNjYwNDQ1NzcyMjdhYjkyOWQwMDgzZWFmZmJjYThkZjViZjcyMDc2NDA0ZWQxMTMyMjk5Mzc0Mzg0Y2E2MjYxYzQ5ODY5NDAxYmU3MDI3ZWEiLCJpYXQiOiIxNjA3NTE1NDc5LjM4Nzk4OCIsIm5iZiI6IjE2MDc1MTU0NzkuMzg3OTkxIiwiZXhwIjoiNDc2MzE4OTA3OS4zNDI4NTAiLCJzdWIiOiI0NzQzMTAyMiIsInNjb3BlcyI6WyJ1c2VyLnJlYWQiLCJ1c2VyLndyaXRlIiwidGFzay5yZWFkIiwidGFzay53cml0ZSIsIndlYmhvb2sucmVhZCIsIndlYmhvb2sud3JpdGUiLCJwcmVzZXQucmVhZCIsInByZXNldC53cml0ZSJdfQ.oFtvIxscckLYkmv5GFn7_duaVroG_8Sa8TXrqv5yebVeGSRZ32N8nuyNH1yDYtKxEyWqg0KDpLEDRzlsicsSWDgdzelzlIMbf94F1R6-l9WrWUmtb7BH1XQVXXO1i77RCXsRbRJcLqyBNT3-xkLEhRk_xGbf9Jv6F3_w_yoV-3PsuZC46-yM88gwcAyaRqO0xfm_54iCHTmNqrqIQ4IKrDtck6VOzIIDbXmUlkLICjeUejBR9UTadkOBB-RTYKyhSy3Bh8Y_D5FET16c8FxYLBg531XJ514rIgX5q-lkrX-mb-GxKgKbbVIs52XNsW1oQiF2Z2CcFQQWb7ux-u85lB3QNmQ81moxVg6Br45460XIDrRgTE9qg6JAjjR6HEO6Vlliif8SBta8HFJPonQbfogB86mf9THw3gt7KqvBwGVA1k1GhK2PfLBQEH8VJnN6veZ1Dn8ZKmFl7ou8GzliVsl5U8HEqUrKZRbzniIhssPZyLwYmOrJ66--N-PRsWXt2UTUp3-IRIstMYVKZNJMjgBmIgbUDeZ5ITeq0CtKKDzDA9DUa5W5NWXXl_14ZaUYEBhxTM6raoQoMoIPUA9RY3xVAzrdng3BKO3Ccnxtd9k0oSAMlkCSf2ZuUD4HfvVYt5J1bhL-SR00OK8erkLnFb_CtJWocCPOpmNRdx0oFeY
—SIGNATURIT_TEMPLATE_UUID=8f604b81-a667-40e8-90c4-f1e7c95d620e
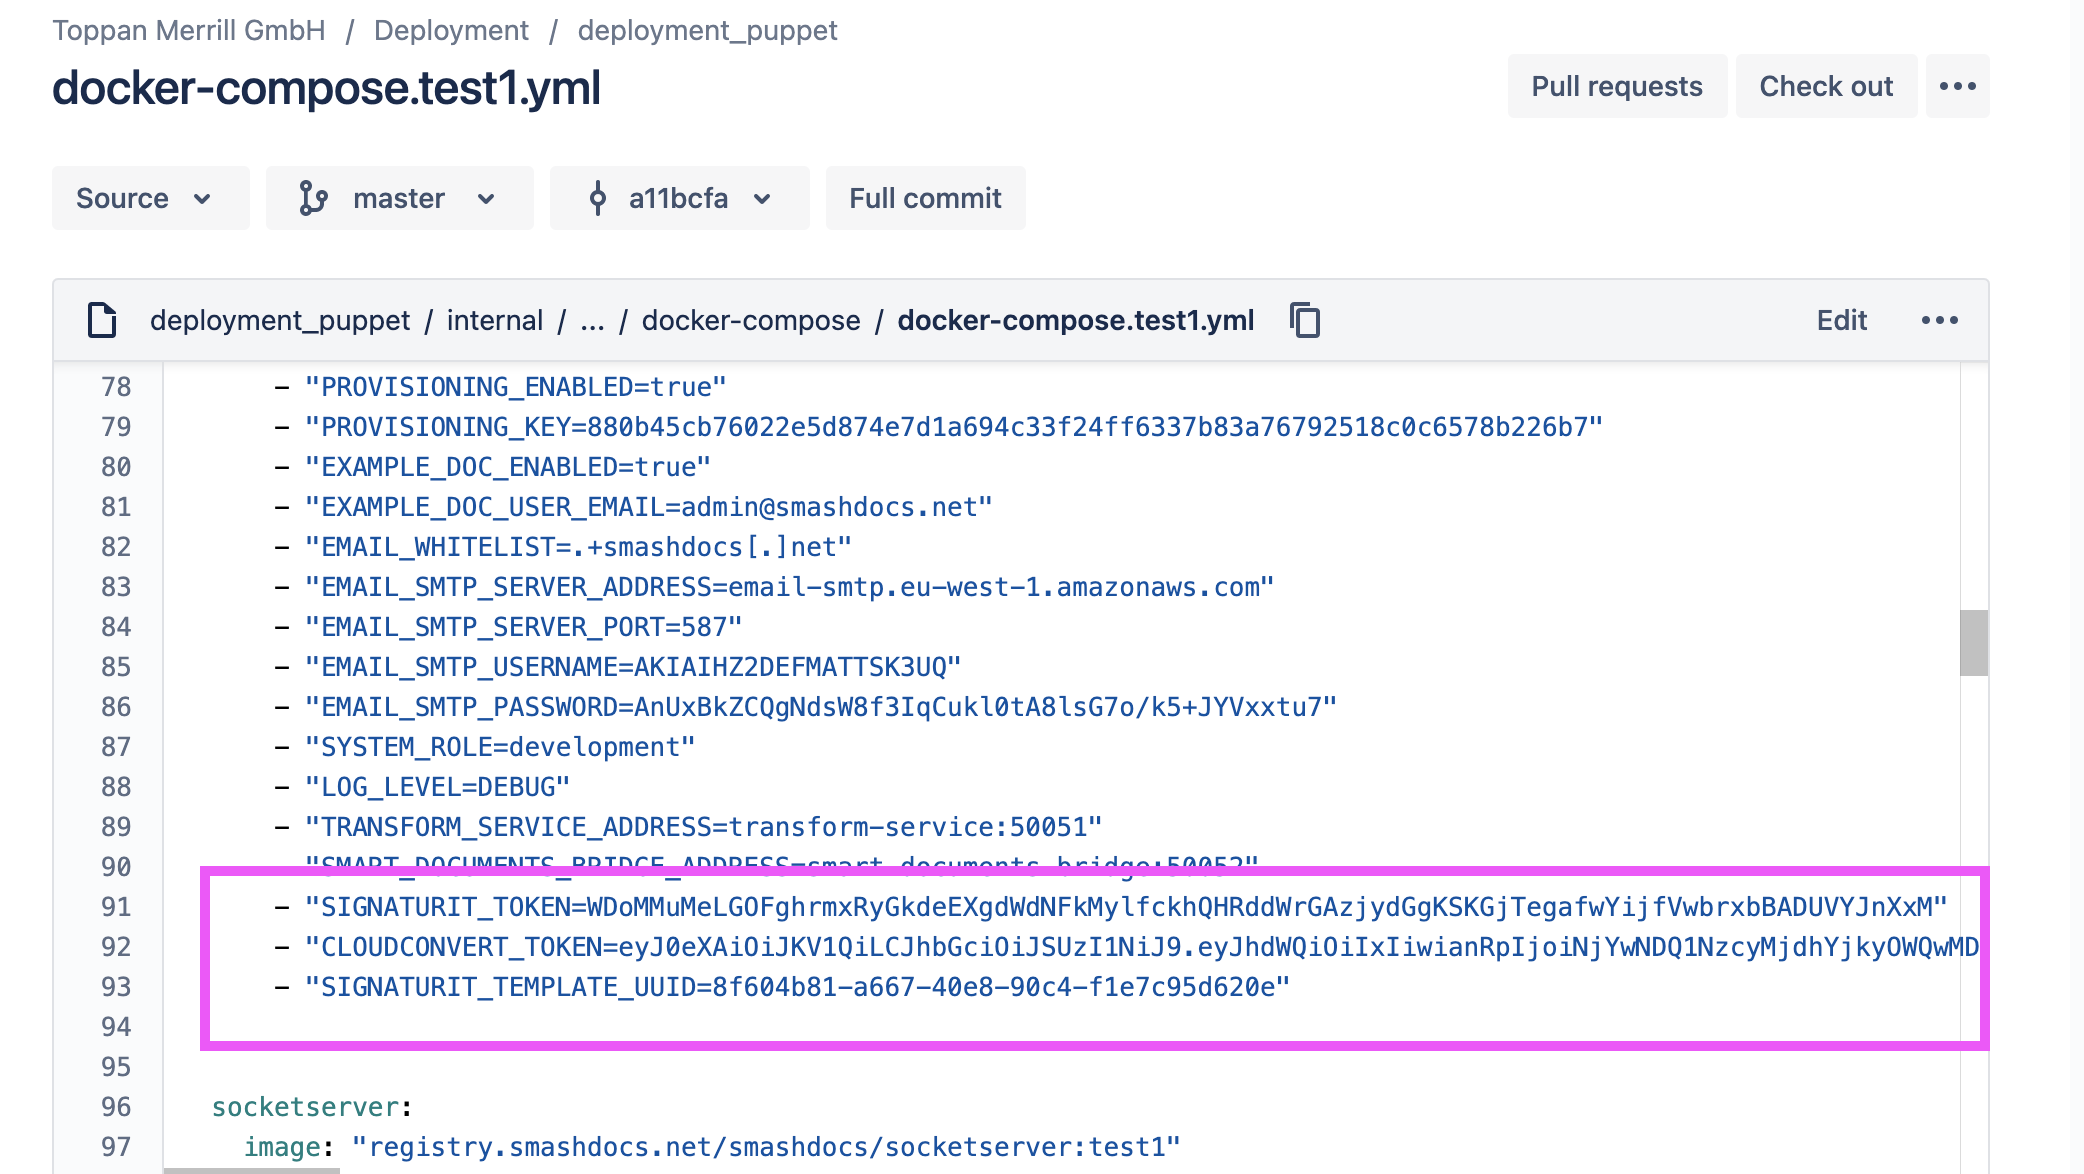
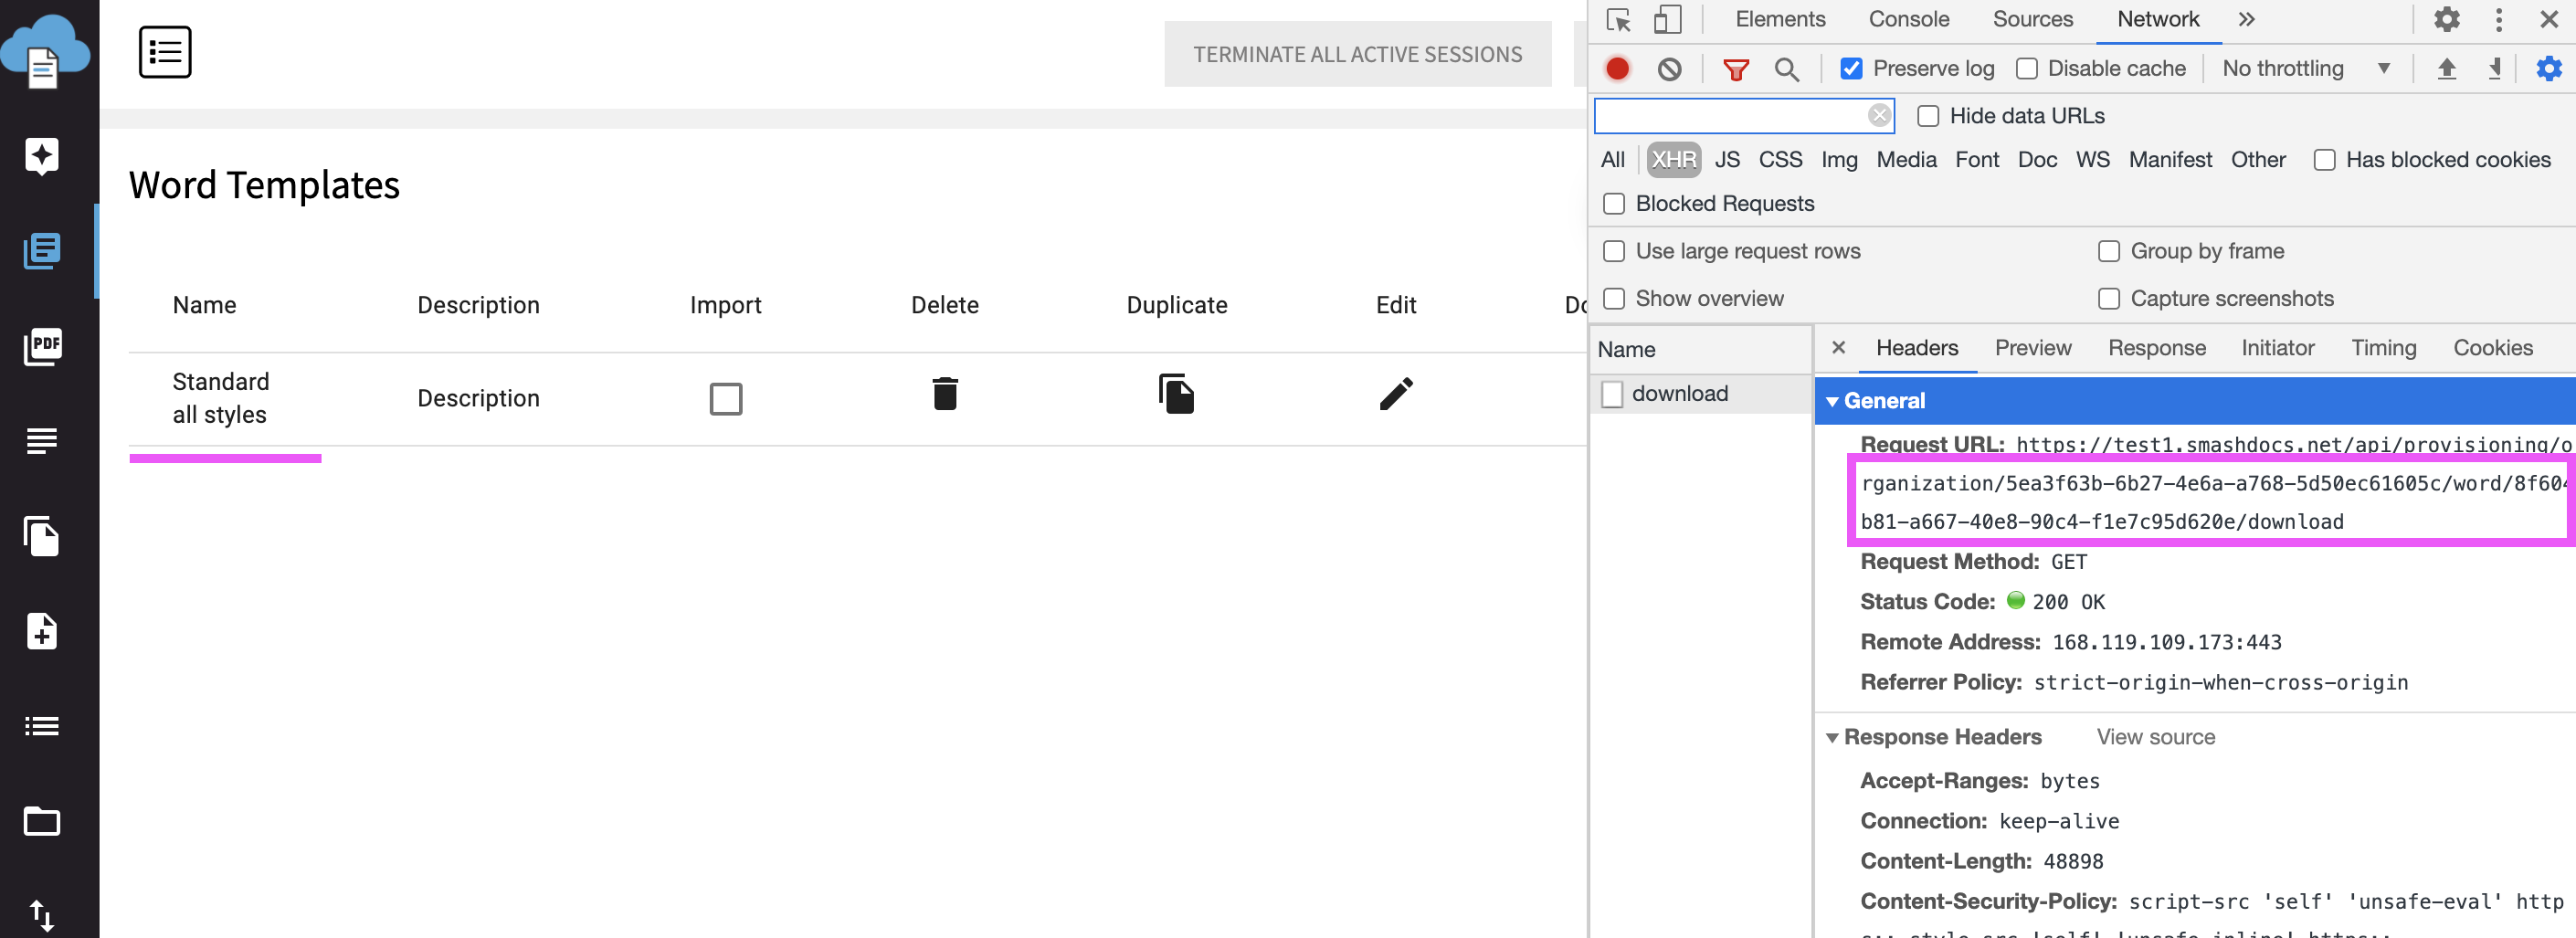
Fisrt two variables are constant and unchanged. The third one "SIGNATURIT_TEMPLATE_UUID" has ID of configured Word template. The Word template you should upload in Admin UI.
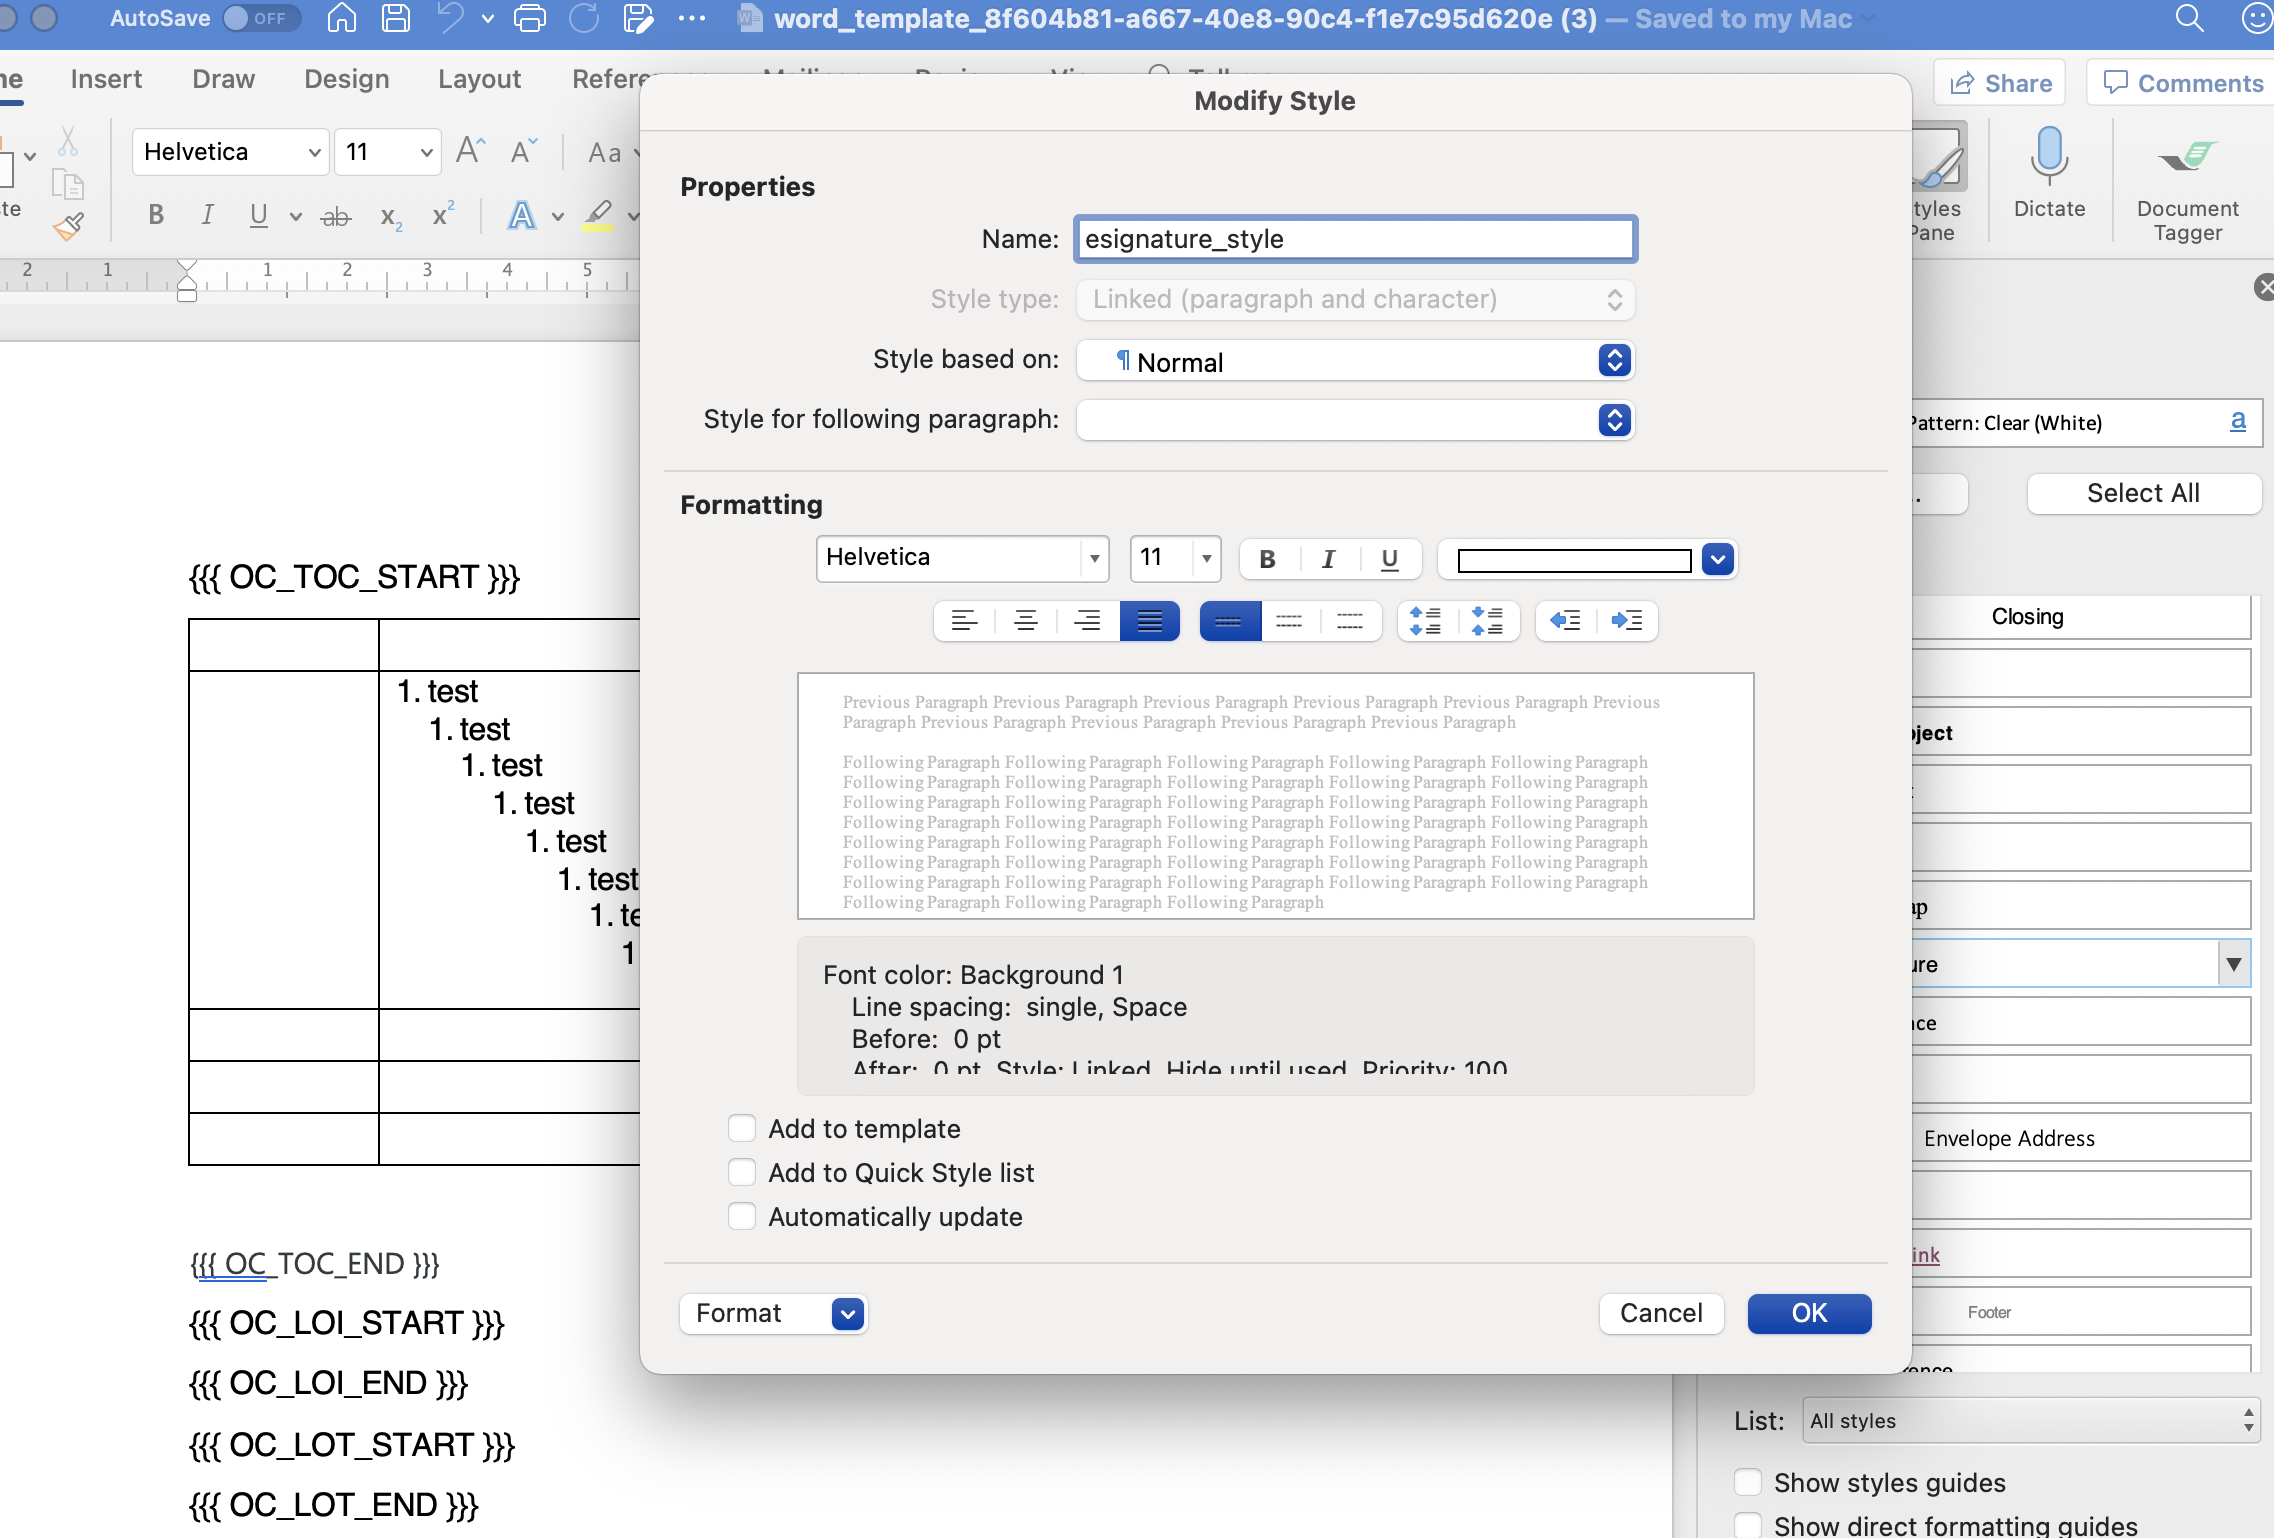
10How to set up Word template for signature
In order to configure Word template for eSign-process you need to add inline style named "esignature_style". The font color for this inline style is white.
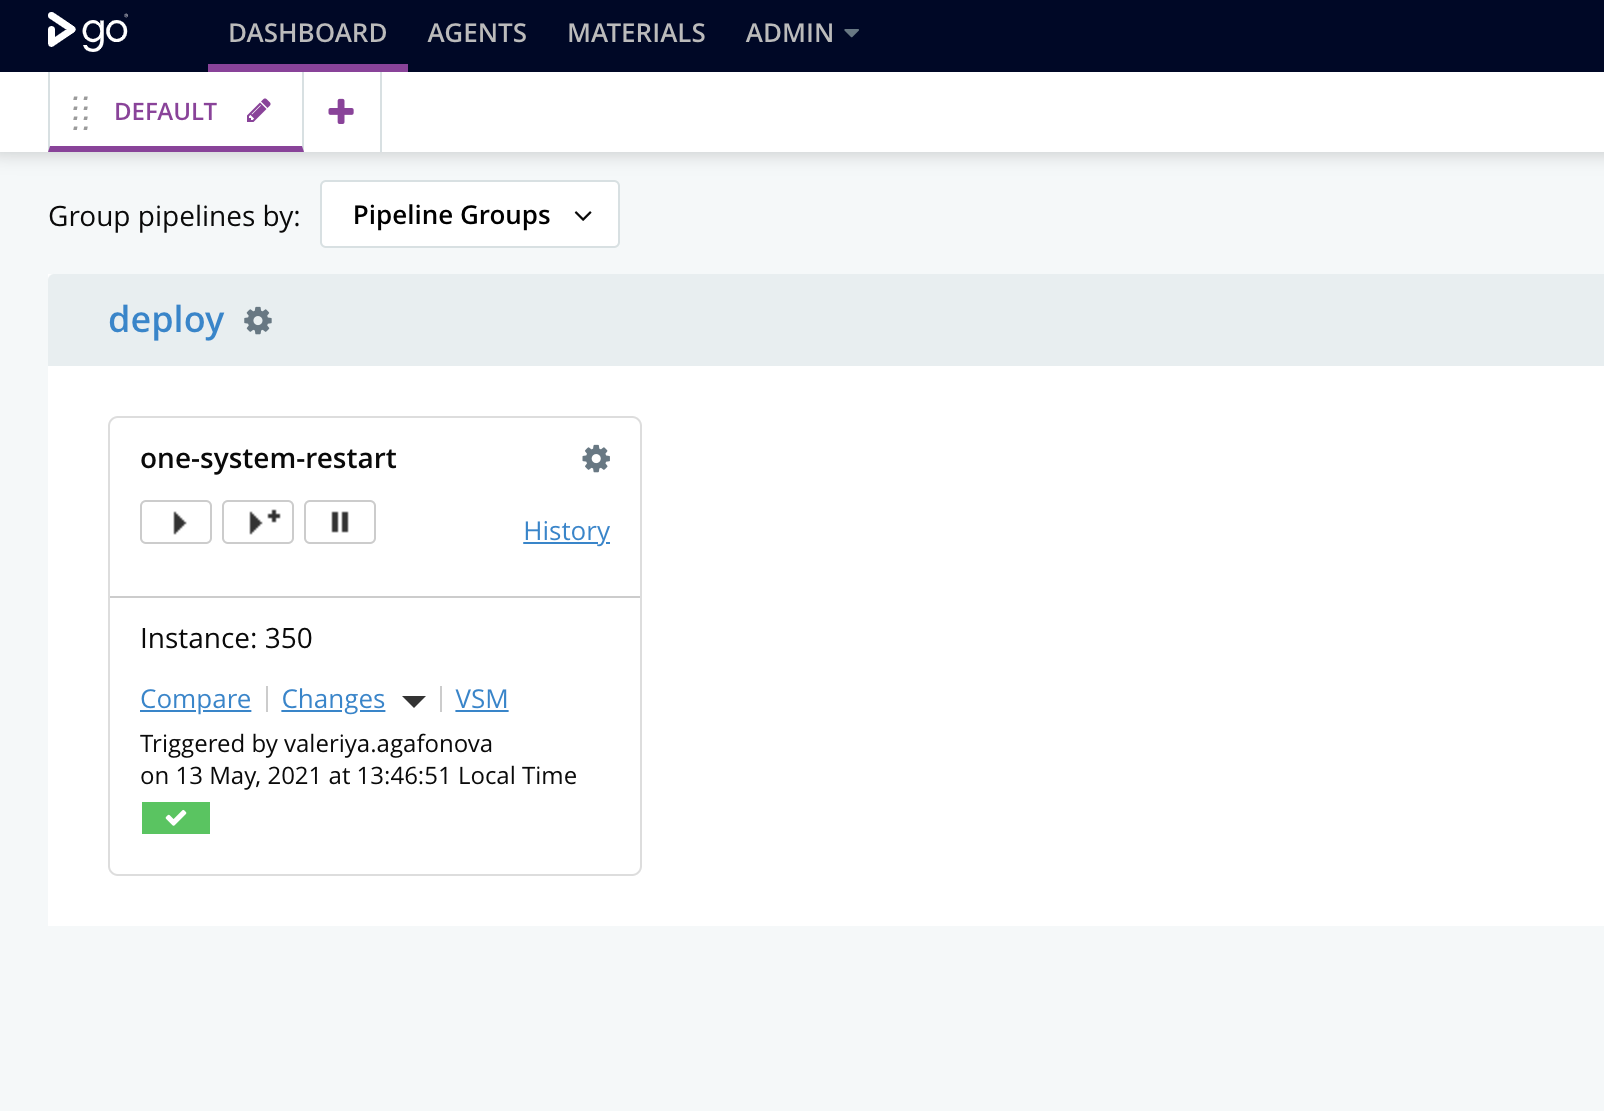
When all settings are done you need to restart system with pipeline One-System-Restart in https://ci.smashdocs.net/.