Module "Comment"
1Create a comment
Comments can be created either to the whole component or to the selected text in a component. To create a comment on a specific part of a text component, first, select the desired text and then click on the "Comment" button.
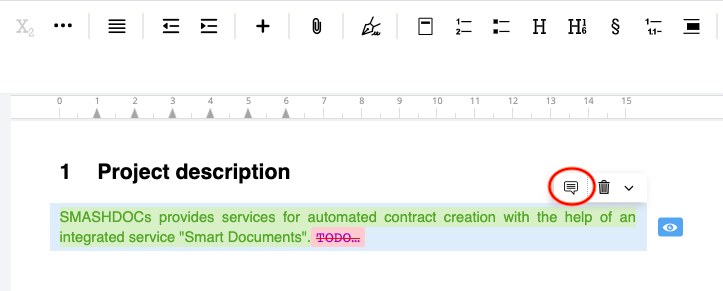
Option to create comment highlighted
In the dialog that appears, you can enter the data for your comment.
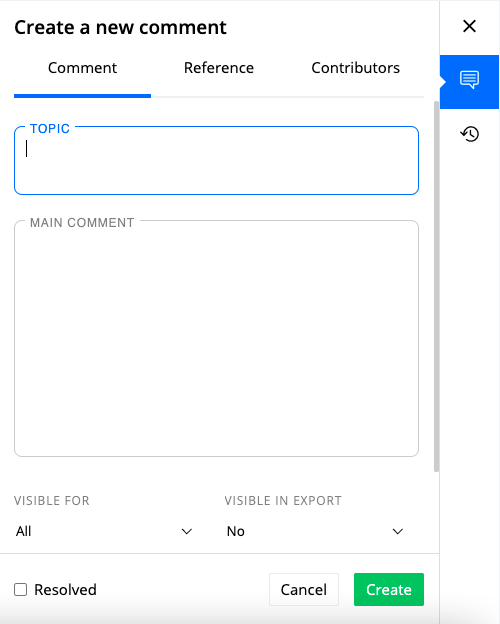
Fields for inserting metadata of a new comment
The window contains the following elements.
●Tabs:
●Comment
●Reference
●Contributors
●Topic
●Main comment
●The selection button to determine the users who can see the comment
●Visibility in export
●Resolved option
●More options:
●The selection button to choose assignees during the task management
●Due date of an assigned comment
●Priority (-/1/2/3)
If you do not select specific text in a component, the comment will be created to the whole component.
The other way to create a comment for a component is through the option "Create conversation" in the opened dropdown-menu.
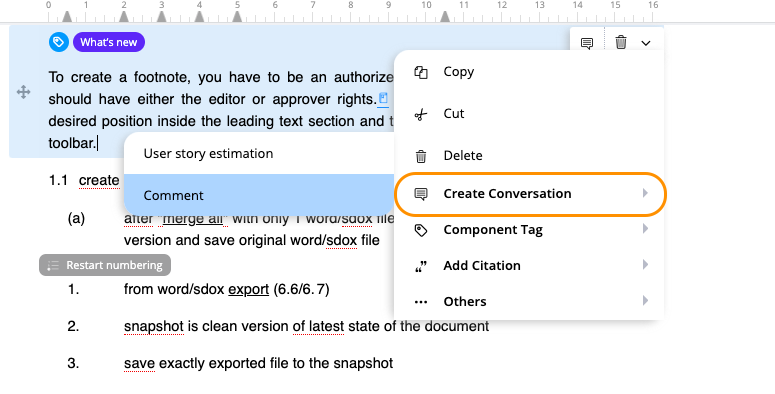
The option "Create conversation" highlighted
It is not possible to create empty comments. If you try to save a comment without content, you get a warning after pressing "Create". It is obligatory to insert text in the field "Main comment", the field "Topic" is optional.
As soon as your comment is ready, do not forget to click "Create".
1.1Visibility of comments
You can also control whether the comment is visible:
●for all contributors in the document;
●only for selected contributors or
●only for you.
Comments with the setting "Visible for all" can be seen by all users with access to the document.
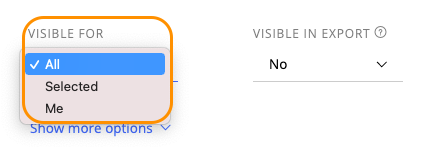
Settings "Visible for" highlighted
The setting "Visible for selected" allows the individual selection of users for whom the comment should be visible. As soon as you click "Selected", a modal window "Contributors" opens, where you can choose viewers of the comment. By ticking "Make this comment visible to all" you can give access to the comment to all users in the document.
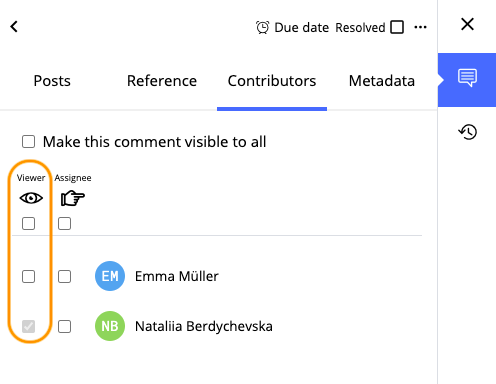
A modal window to choose viewers and the option "Make this comment visible to all"
The "Me" setting allows you to create private comments that can be shared anytime.
When creating a comment, by default it is set as "Visible for all". If the comment is saved this way, all users in the document, including administrators, can view the comment or reply to it.
Please note: after a comment has been created as "Visible for all", the visibility of such comment can no longer be edited.
1.2Sharing private comments
Comments with the setting "Visible for: Me" can be shared at any time. There are several options for sharing:
(a)share a single comment
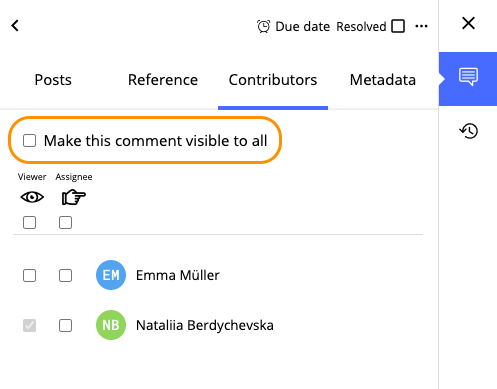
Sharing a single comment
(b)share all comments to the component
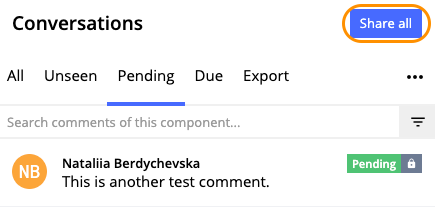
Sharing comments to the component
(c)share all comments in the document
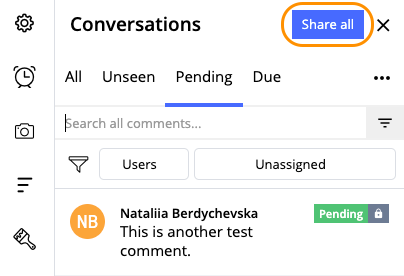
Sharing all comments in the document
1.3Visibility of comments in export
You can also regulate whether the comment should be output in the Word export. During the comment creation you can set a comment as visible in export by selecting "Available" in the corresponding field below the "Main comment" field.
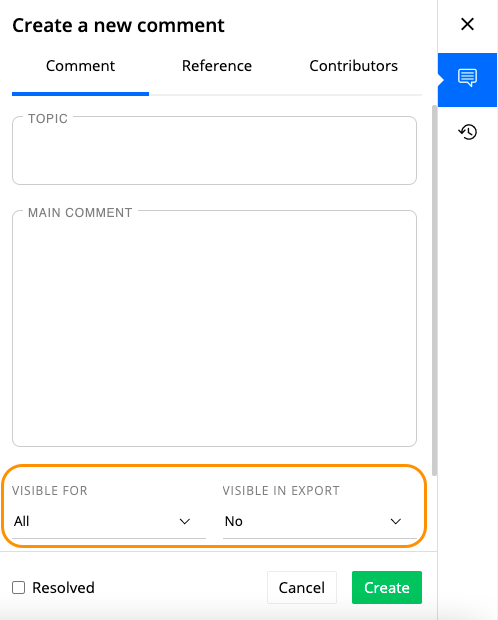
Options "Visible for" and "Visible in export" highlighted
If you have decided to mark your comment visible in export after this comment has been created, you have to open the comment, select the tab "Metadata" and there in the lower left corner activate the checkbox near "Visible in export" option.
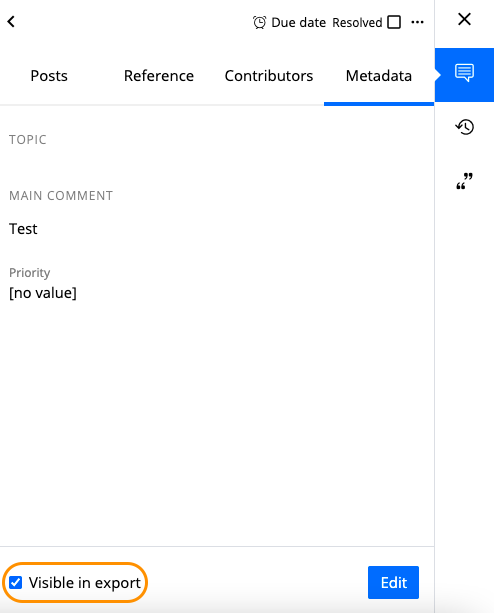
The option "Visible in export" in comment metadata
Only if the option "Visible in export" is activated, the additional setting "Export comments" will appear while exporting to Word and SDOX.
Note: the option "Visible in export" disappears from comment metadata, when a comment has been marked as resolved.
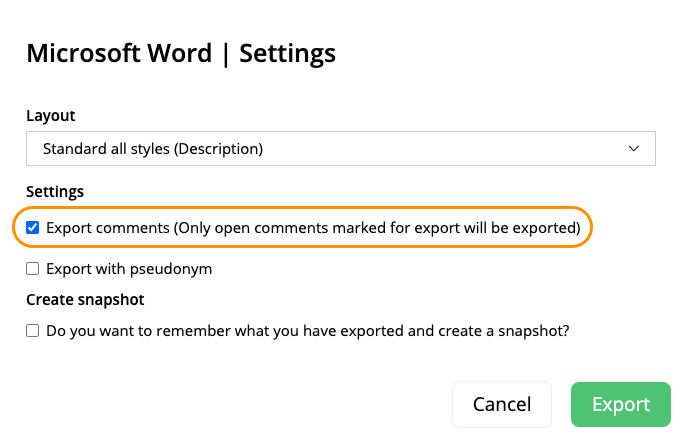
"Export comments" setting highlighted when exporting to Word
1.4Copying links to comments
Created comments are given individual links that can be copied and sent to the people involved. In this way, users immediately open the relevant comments and can start communicating right away. A corresponding sign to copy conversation link can be found in the top right corner of a conversation field.
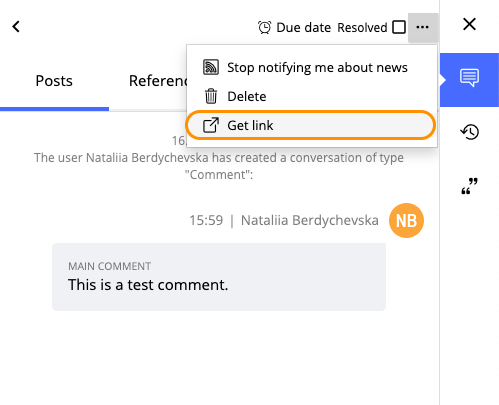
Option "Get link" highlighted
1.5Comment type "Alternative text"
Apart from a usual type of comment, there is one more type, which is used for images - "Alternative text".
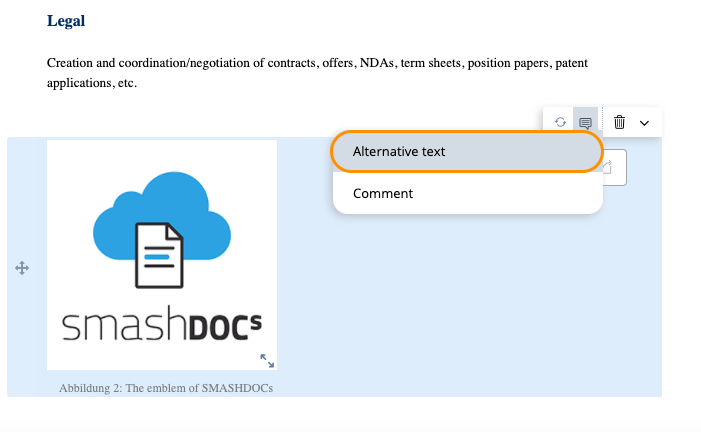
Comment type "Alternative text" highlighted
This comment type is useful for cases when it is needed to describe content of a picture and written objects inside the picture in words to avoid barriers in perceiving information.
After choosing the comment type "Alternative text", dialog window is opened, where two fields "Alternative text" and "Image caption".
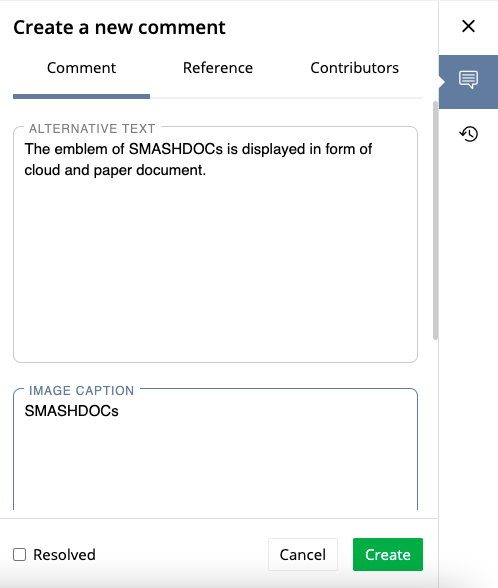
Fields "Alternative text" and "Image caption"
In the field "Alternative text" description of the image should be inserted. Field "Image caption" should contain all written objects inside the picture.
As soon as everything is saved, comment "Alternative text" is displayed in the document, as a usual comment. After opening, all texts will be shown at the point of comment creation.
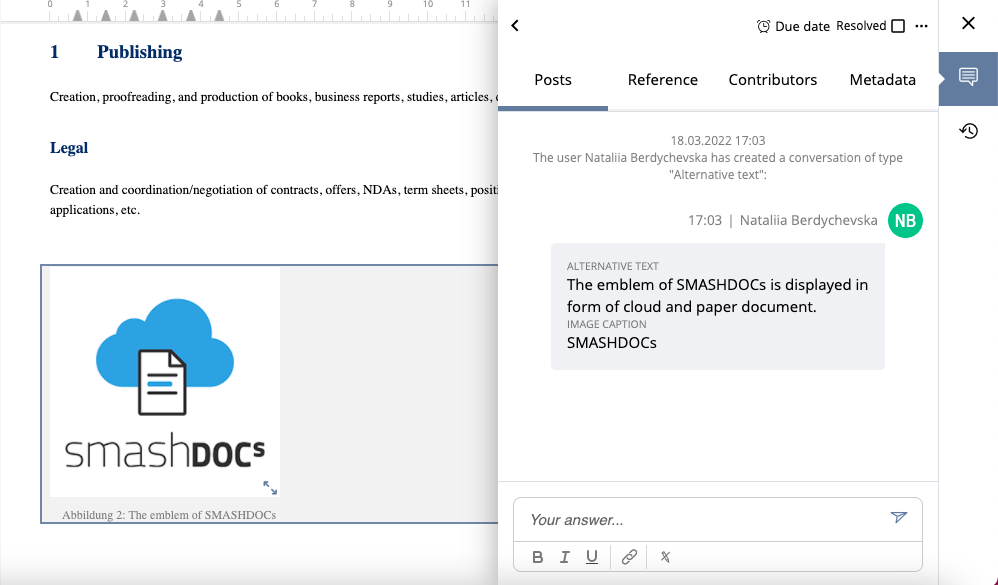
Saved comment "Alternative text"
Along with usual comment, settings of visibility in export and accessibility are the same for comment type "Alternative text".
2Edit comment
After creating comment, it is possible to edit its topic, text and priority. For that you have to open a respective comment and go to the tab "Metadata".
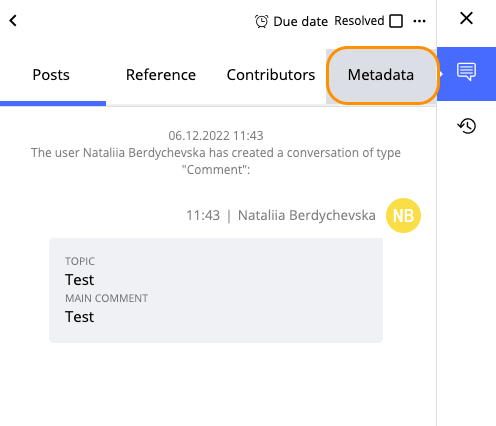
Tab "Metadata" highlighted
In the opened tab "Metadata" click the option "Edit" in the lower right corner.
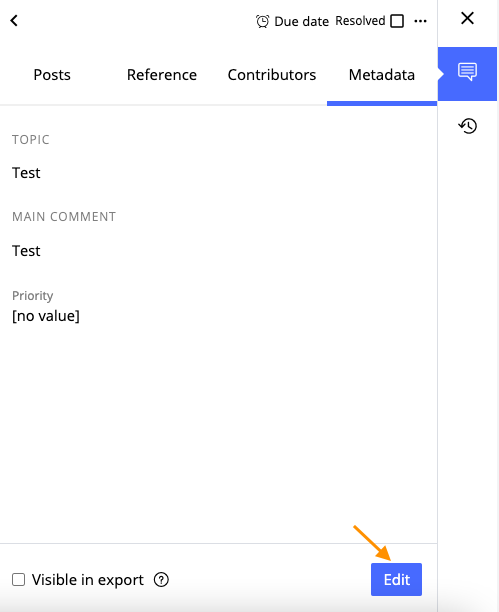
Option "Edit"
Afterwards, the modal dialog opens, where you can make changes to the text of topic and main comment and also set new priority for the comment. As soon as all changes are completed, don't forget to click "Save".
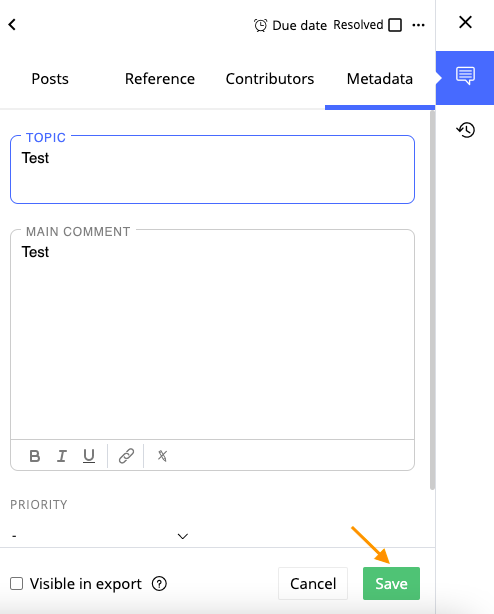
Option "Save"
The information about changing comment will be documented in the comment history.
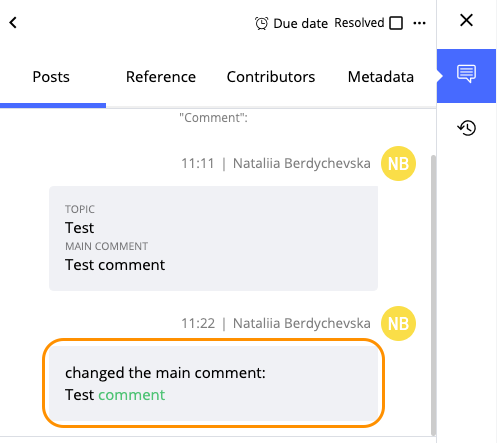
Comment history
3Track new comments from other users
If other users have added new comments or replies to comments in your document, you will be automatically notified by e-mail.
On your start page, you can immediately see whether and how many documents there are with new comments.
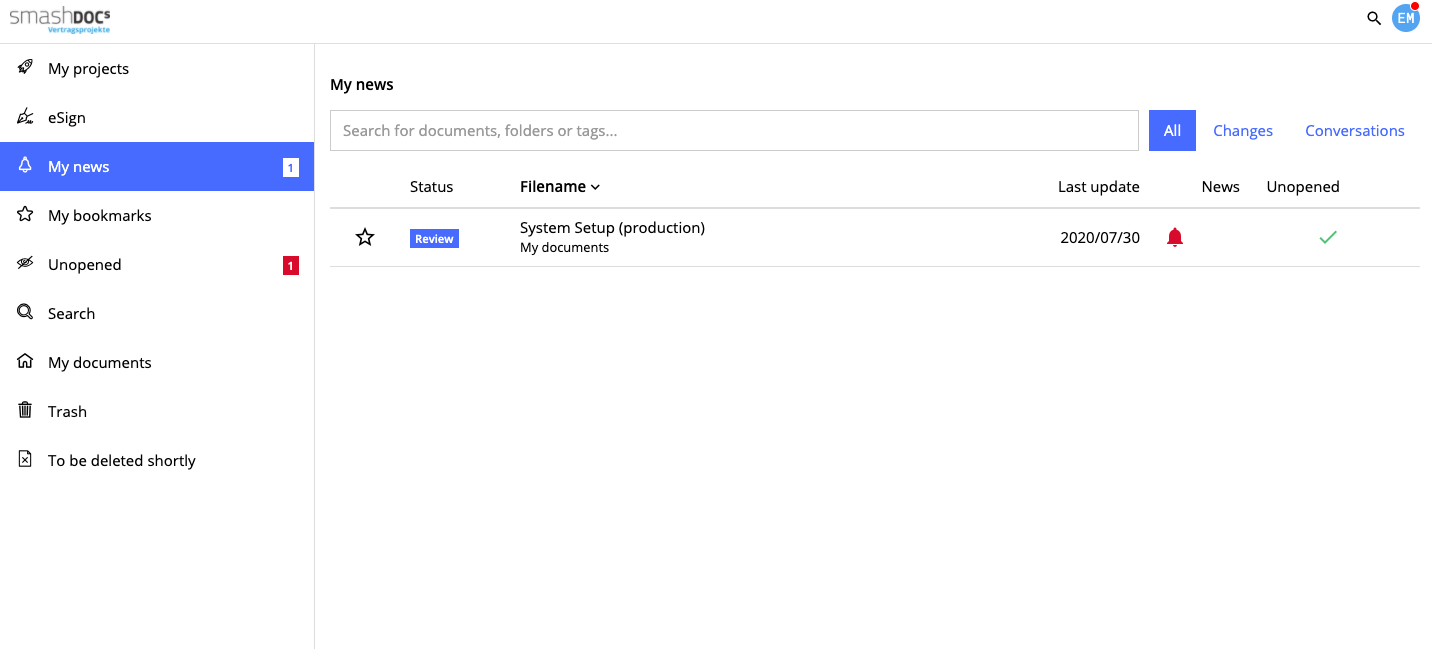
Documents with new comments in the list
In the document itself, a red note appears on the "Comments" tab(see Image 21).
To keep track of the news, click on the tab and the list of new comments will be displayed.
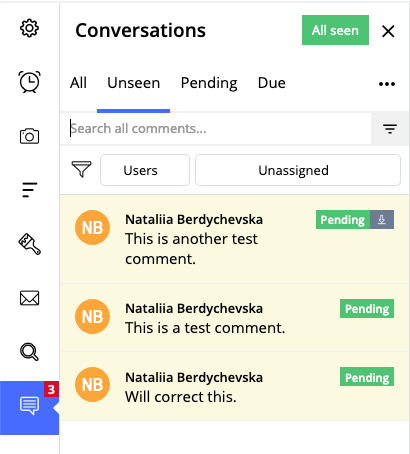
Tab "Conversations" highlighted
Click on a comment to see its details. Posts that are new are highlighted in yellow.
To mark the comment as "seen", simply click on the "eye" above. If you reply to a comment, it will automatically be marked as seen.
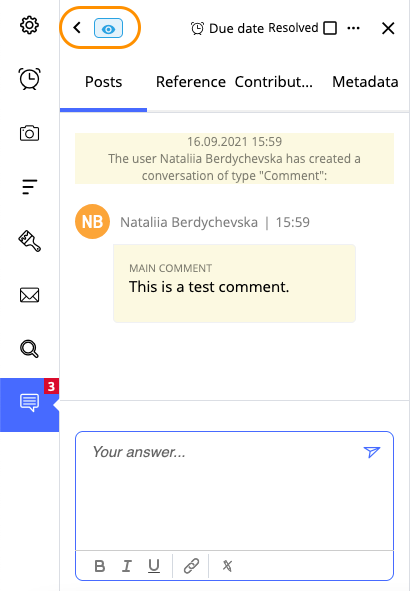
Eye-sign and "Back" button highlighted
The "Back" button next to the eye (see Image 22) takes you back to the comment list.
In case you do not want to be informed about changes of a comment, you should activate the option "Stop notifying me about news" in this case, which you can find after opening this comment and clicking three dots at the top of a comment window.
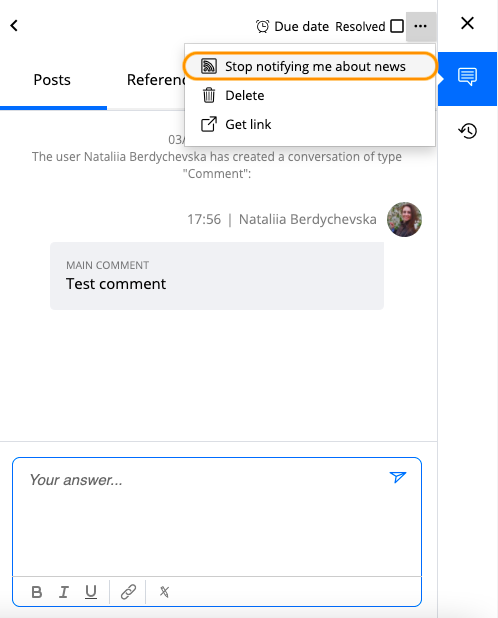
The option "Stop notifying me about news"
After activating this option, you will not receive any notifications about comment changes per email anymore. In case you have decided later, that you need to be notified about comment changes, open these settings once again and choose the option "Subscribe".
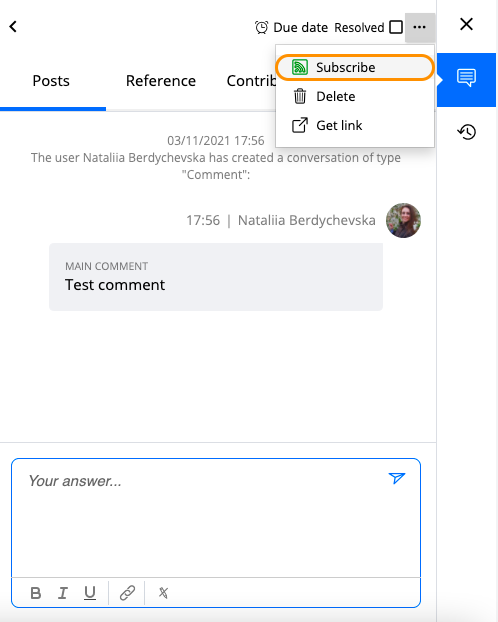
The option "Subscribe"
The user can also search for all conversations, filtering the search results by creator or commentator.
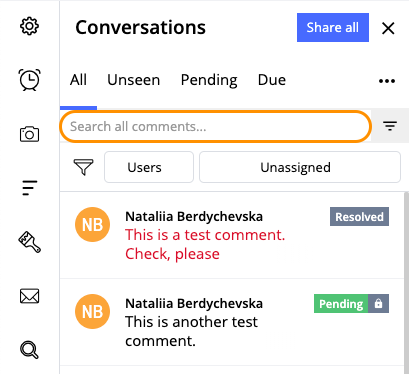
Field for searching comments highlighted
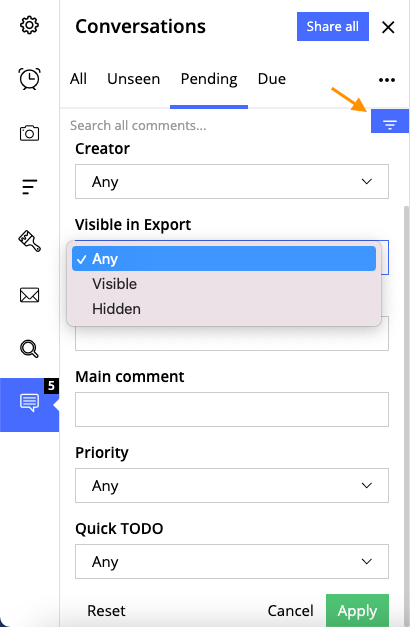
Filters for searching conversations highlighted
3.1Answering on existing comments
To write an answer for an existing conversation you need to access the conversation details. You can either display them via the tab bar on the left or the speech bubble symbol next to the component.
Then you choose the respective comment with a click. The detailed conversation history with all posts appears including an input box for your answer. The text in the answer to the comment can be formatted with such options, as Bold, Italic, Underlined, Insert weblink and Clear format (see Image 27). To send an answer a user can also use the shortcut (Ctrl + Enter) for Windows / (COMMAND + RETURN) for Mac.
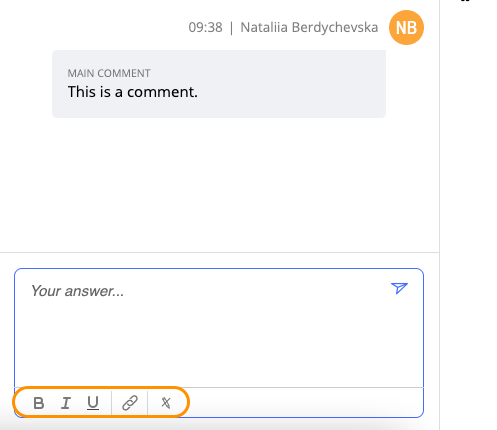
Options for formatting text in the answer
Clicking into the input box automatically marks an unread conversation as read.
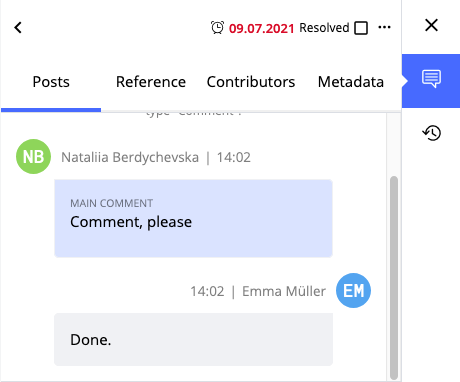
Comment with an answer highlighted
4Displaying and managing comments
4.1Display unseen conversations
Basically, the tab "comments" can be displayed in three different ways:
●Tab without counter (comments existing)
●Tab with counter (unread comments)
●Tab with green check mark (all conversations have the status "resolved")
The mere display of the comment tab in the tab bar on the left indicates that there are comments within the document, none of them unread.

Tab "Comments" highlighted in the tab bar
If there are unread conversations a read counter appears next to the tab. It only counts conversations as a whole, not individual answers. So, a comment with three unseen answers only counts as one conversation.
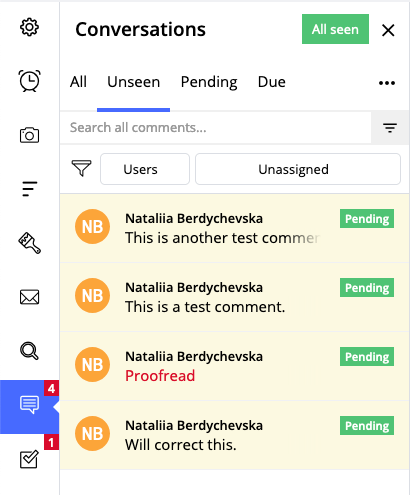
Unread conversations tab highlighted in the tab bar
The green check mark at the conversation tab indicates that all existing conversations are "resolved".
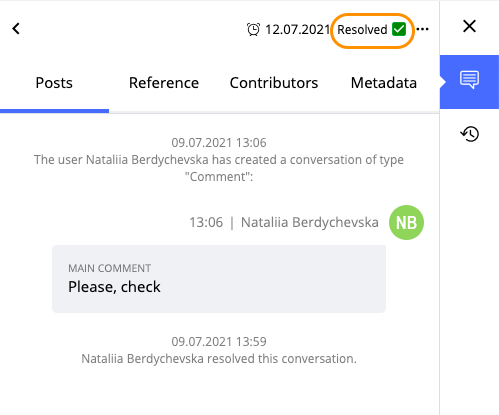
Resolved conversation highlighted
4.2Display of conversations at the component
If there exist conversations for a component a user can see them by clicking on the speech bubble icon right from the component. Contrary to the tab bar the details do not show on the left but right from the component.
The speech bubble can take three different forms:
●Red speech bubble (there is at least one unread conversation for the component)
●Blue speech bubble (all conversations have been read and at least one is set as "pending")
●Grey speech bubble (all conversations have been read and are set as "resolved")
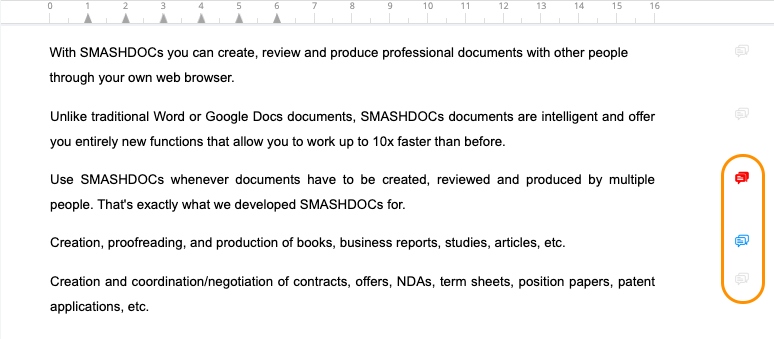
Status icons for new (red), seen (blue) and resolved (grey) conversations highlighted
4.3Display the list of all comments in the document
Click on the "Comments" tab on the left side of the document. You can change the display there according to your wishes using the tabs above.
For example, the "All" listshows all documents in the document that are
●open;
●resolved or
●marked for export to WORD.
The "Unseen" list shows all comments that have not been read by a user; the "Pending" list shows comments that are not marked as resolved; in the "Export" list there are comments that have been marked as "Visible in export"; all resolved comments are placed in the "Resolved" list.
The "Due" list shows comments that have due date:
●overdue;
●today.
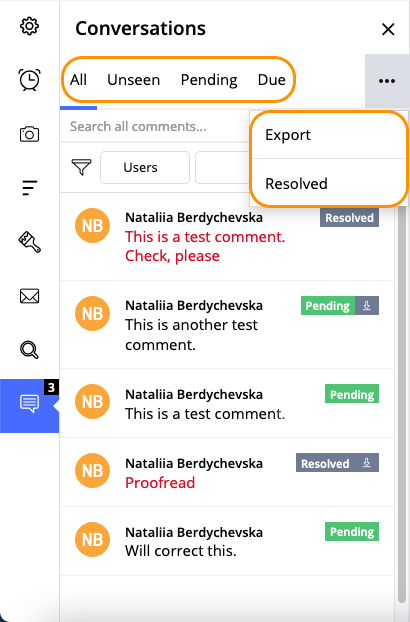
Tabs in the comment function highlighted
From the comment itself you can immediately see
●what processing status it has (open, resolved);
●whether it is included in the WORD export ("Download" icon) and
●whether it is private ("lock" icon).
5Resolving and deleting comments for a component
To resolve a comment, open it and on the right side above there is a corresponding option "Resolved". Tick it - and the comment will be closed.
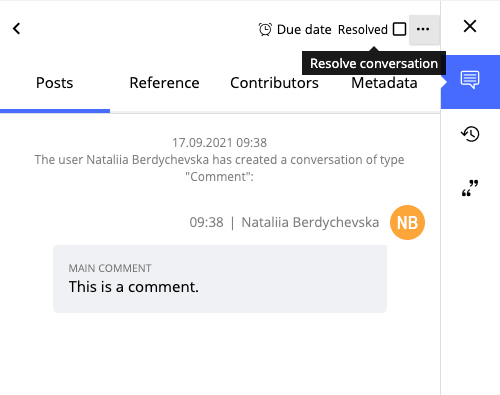
The option for marking comments as resolved
You can mark comments as resolved on the step of creation, as well. This option is placed under the fields "Topic" and "Main comment" left.
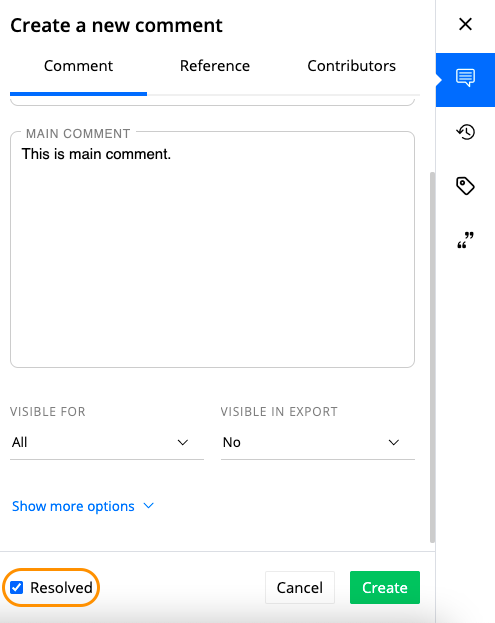
The option for marking a comment as resolved during creation comments
If you tick this option, after creation your comment will appear in the list of resolved comments.
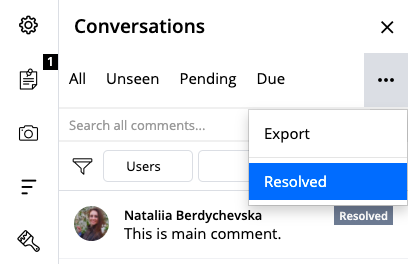
The list of resolved comments highlighted
Comments can be deleted if one of the conditions is met:
●it's a private comment;
●it's a comment that has not been seen by anyone.
To delete comment you should firstly open it, then click three dots in the right corner above and select the option "Delete".
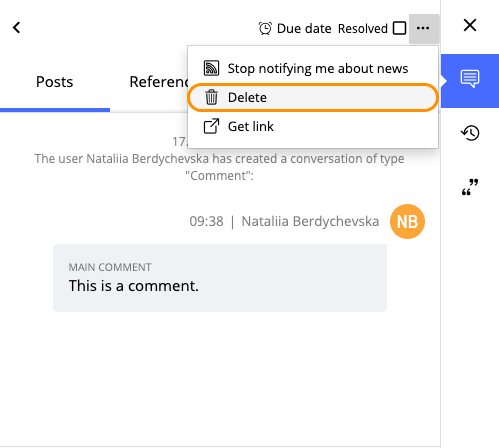
The option to delete a comment
Note: once a comment has been marked as resolved, it cannot be deleted anymore.
