Module "Projects"
1General
This functionality enables adding any desired documents to the separate projects. This way documents can not only be conveniently stored in one place but also generated as one document later on.
2How to create projects
In order to create a new project, click on the green Plus button under "My documents".
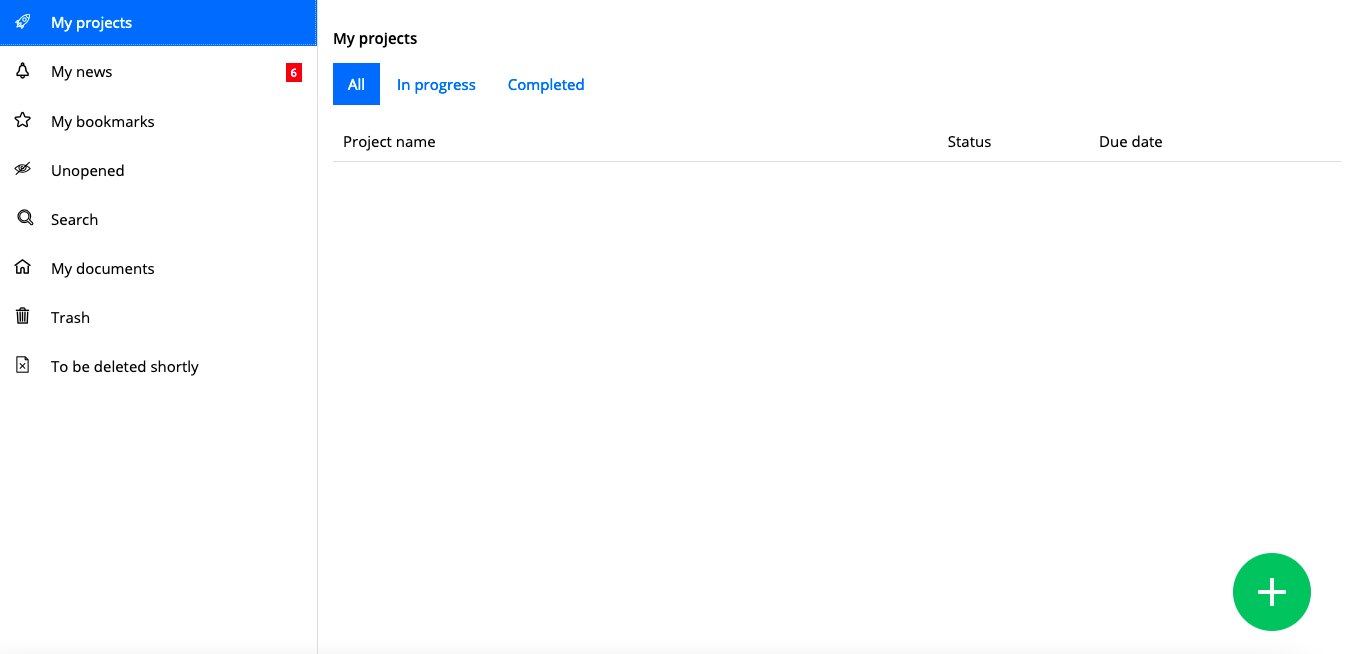
New tab "My projects" highlighted
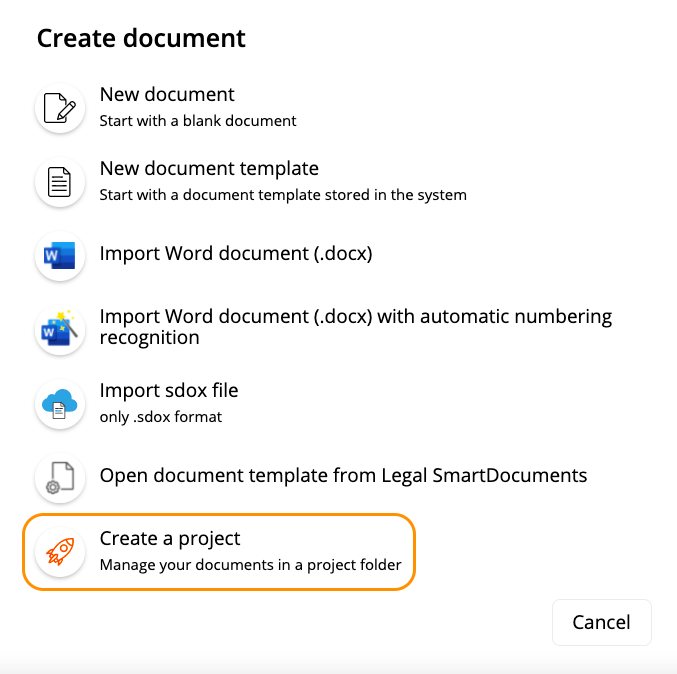
Creating project via the green Plus button highlighted
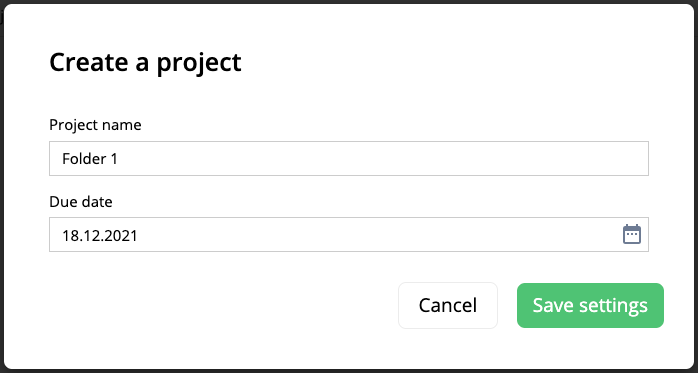
While creating a new project, you have to fill in the field "Project name" and optionally also the "Due date". The due date indicates when the project should be completed. The due date is displayed in black if there is at least one day left to the set due date. If it is red, the date either falls due today or has already fallen due some time ago.
Every project also has one of the following statuses:
●"In progress"
●"Completed"
Initially, every project is established with the status "In progress", that is not visible during the creation process.
Creating a projects highlights
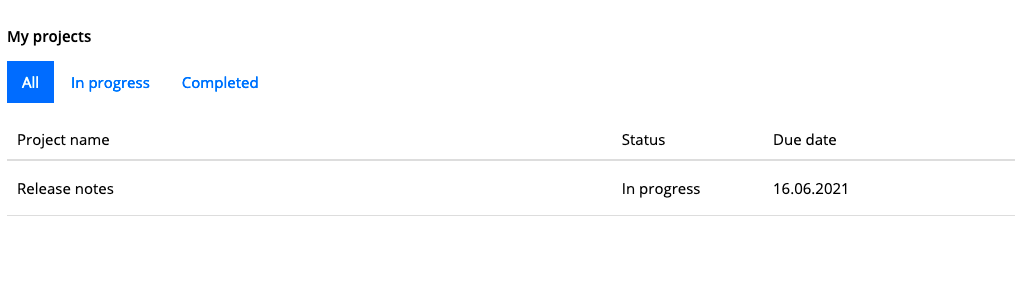
Altogether, it then looks like this:
Newly created project highlighted
You can also edit the metadata of your project by clicking on "Edit" in the projects menu.
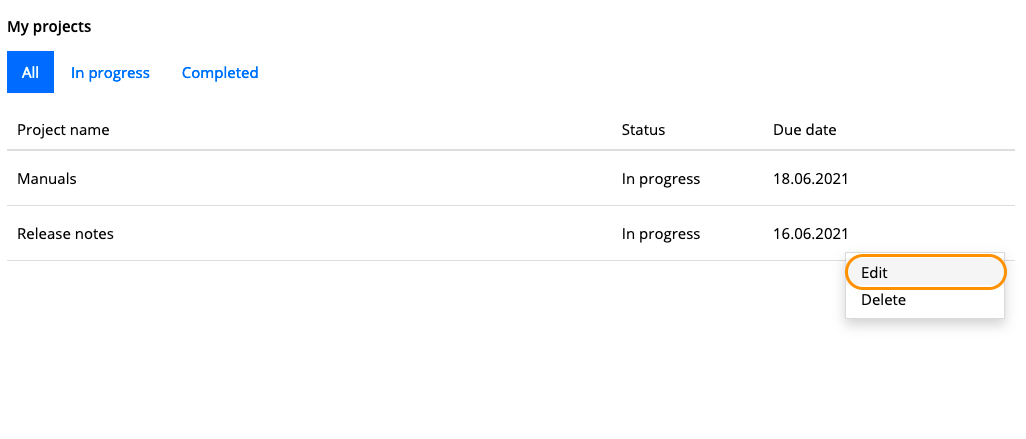
Option "Edit the project" highlighted in the menu
Apart from editing the project name, due date, you can also edit the projects status from e.g. "In progress" to "Completed" and vice versa.
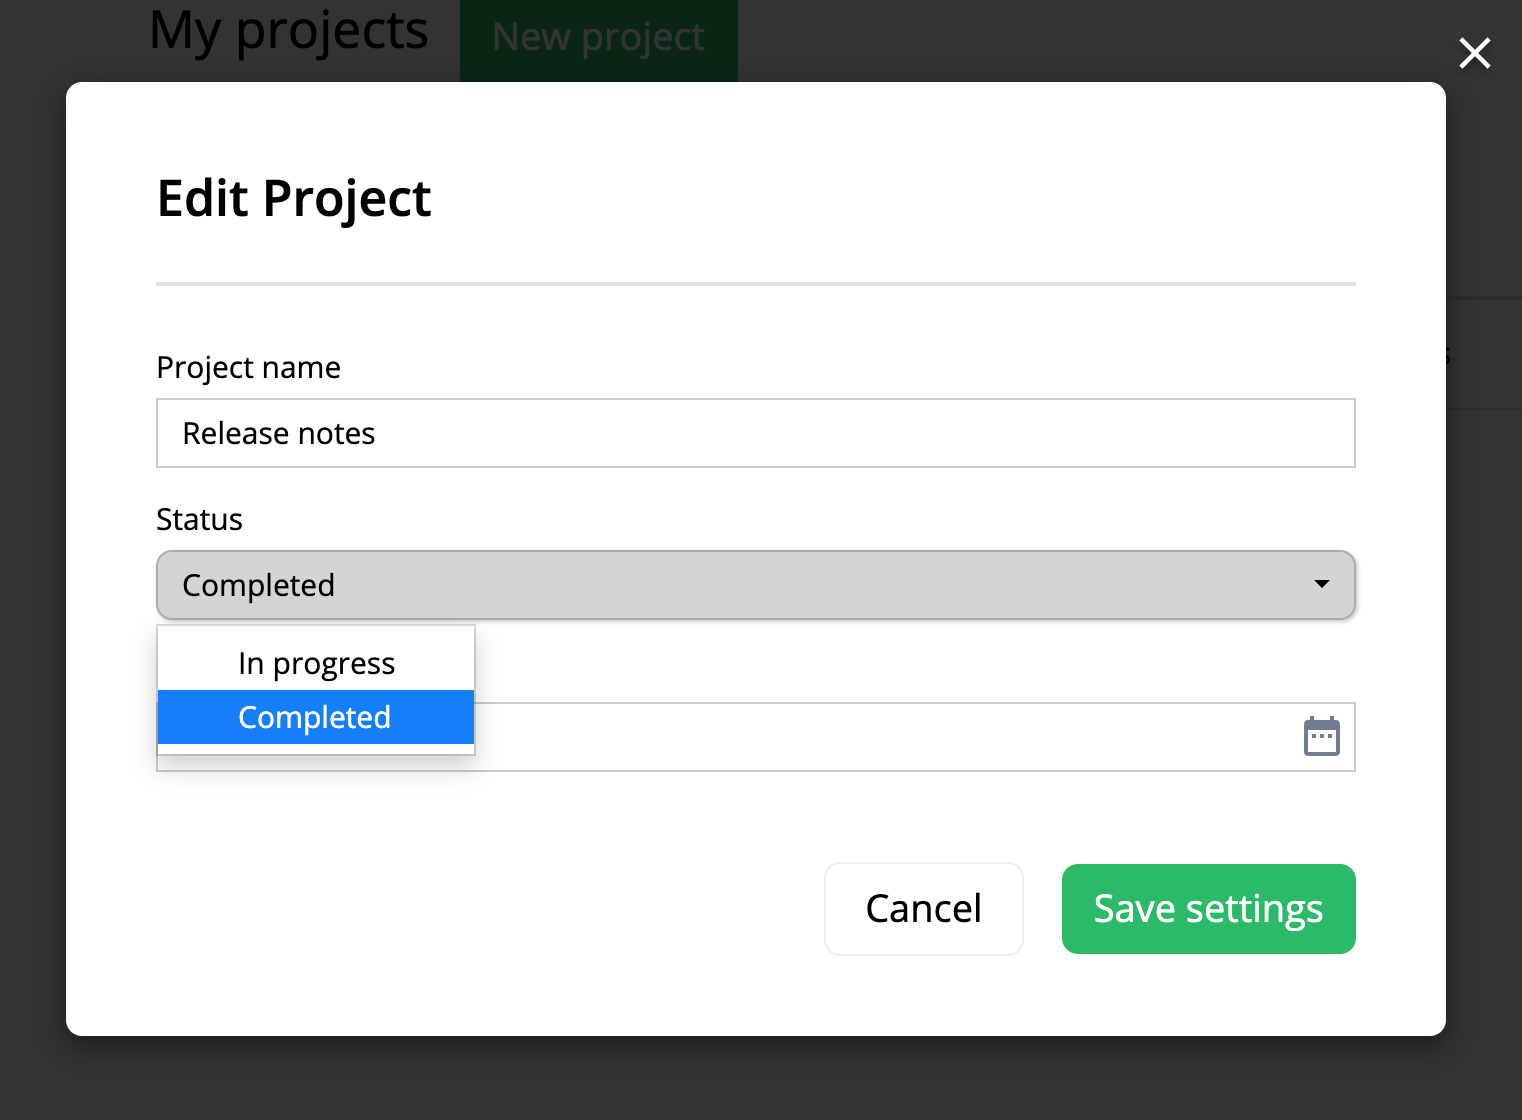
Changing projects status to "Completed"
The status of each project is dispayed on the main page "All projects" in the separate column on the right.
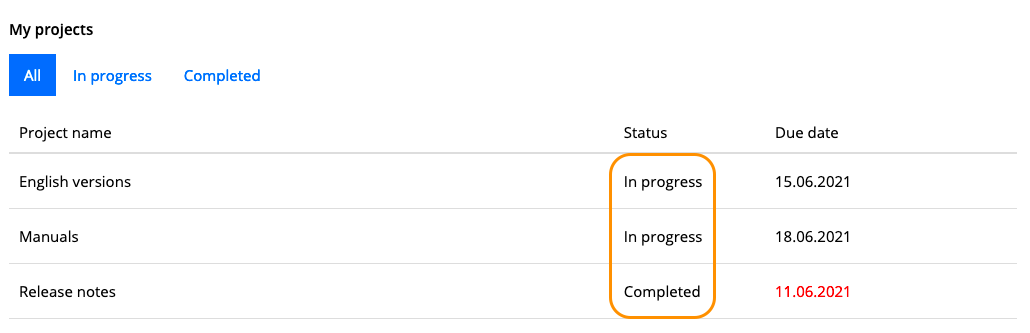
Column with projects statuses highlighted
But you can also find all ongoing projects under the separate tab "In progress" and all finished projects under the separate tab "Completed".

All completed projects highlighted under the tab "Completed"
3Adding documents to projects
After creating your first project, you can add there as many documents as you like by clicking on the "Add" button.
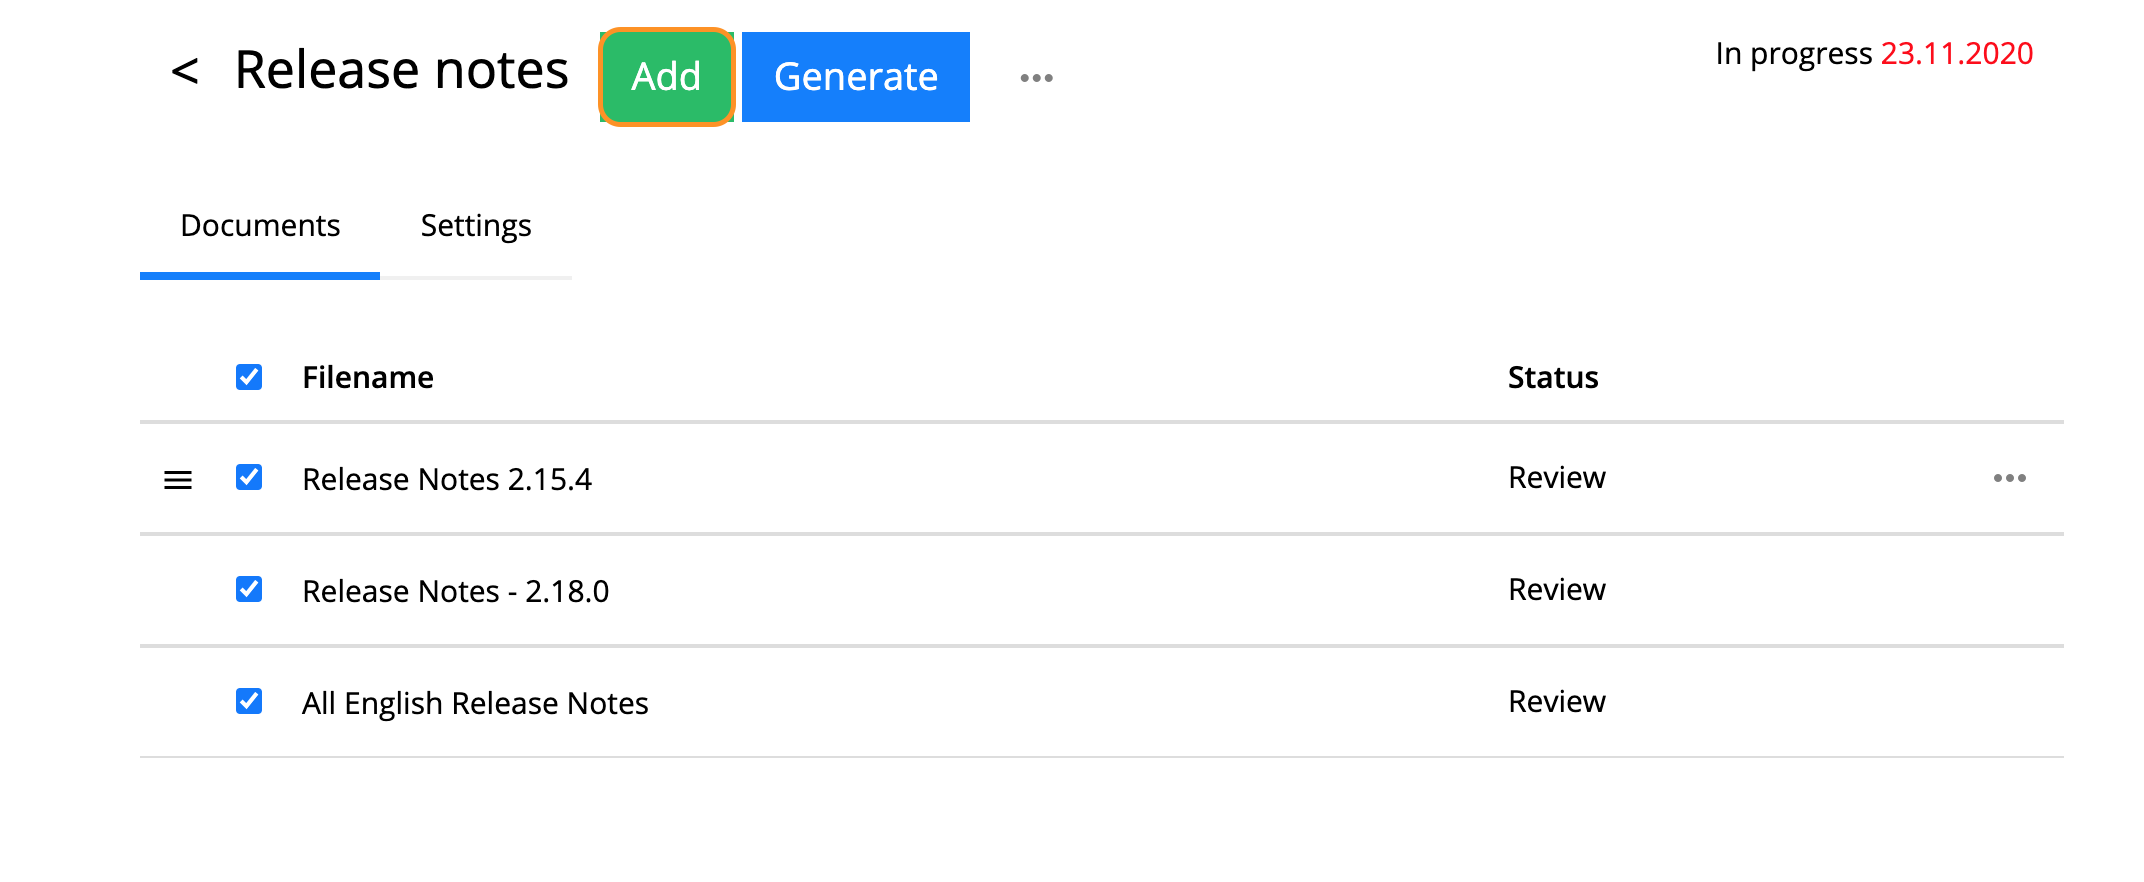
Button for adding documents to the project highlighted
To begin with, no documents are being displayed, so you need to look for the specific ones via the Search field.
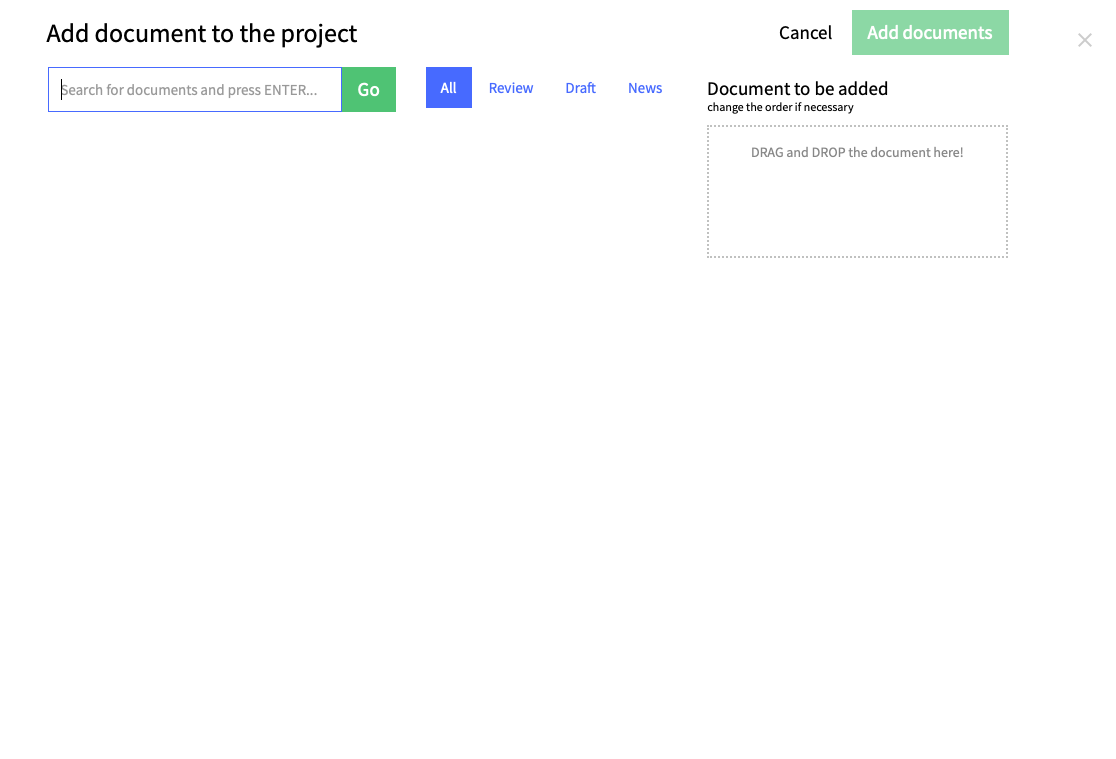
Dialogue window "Add document to the project" highlighted
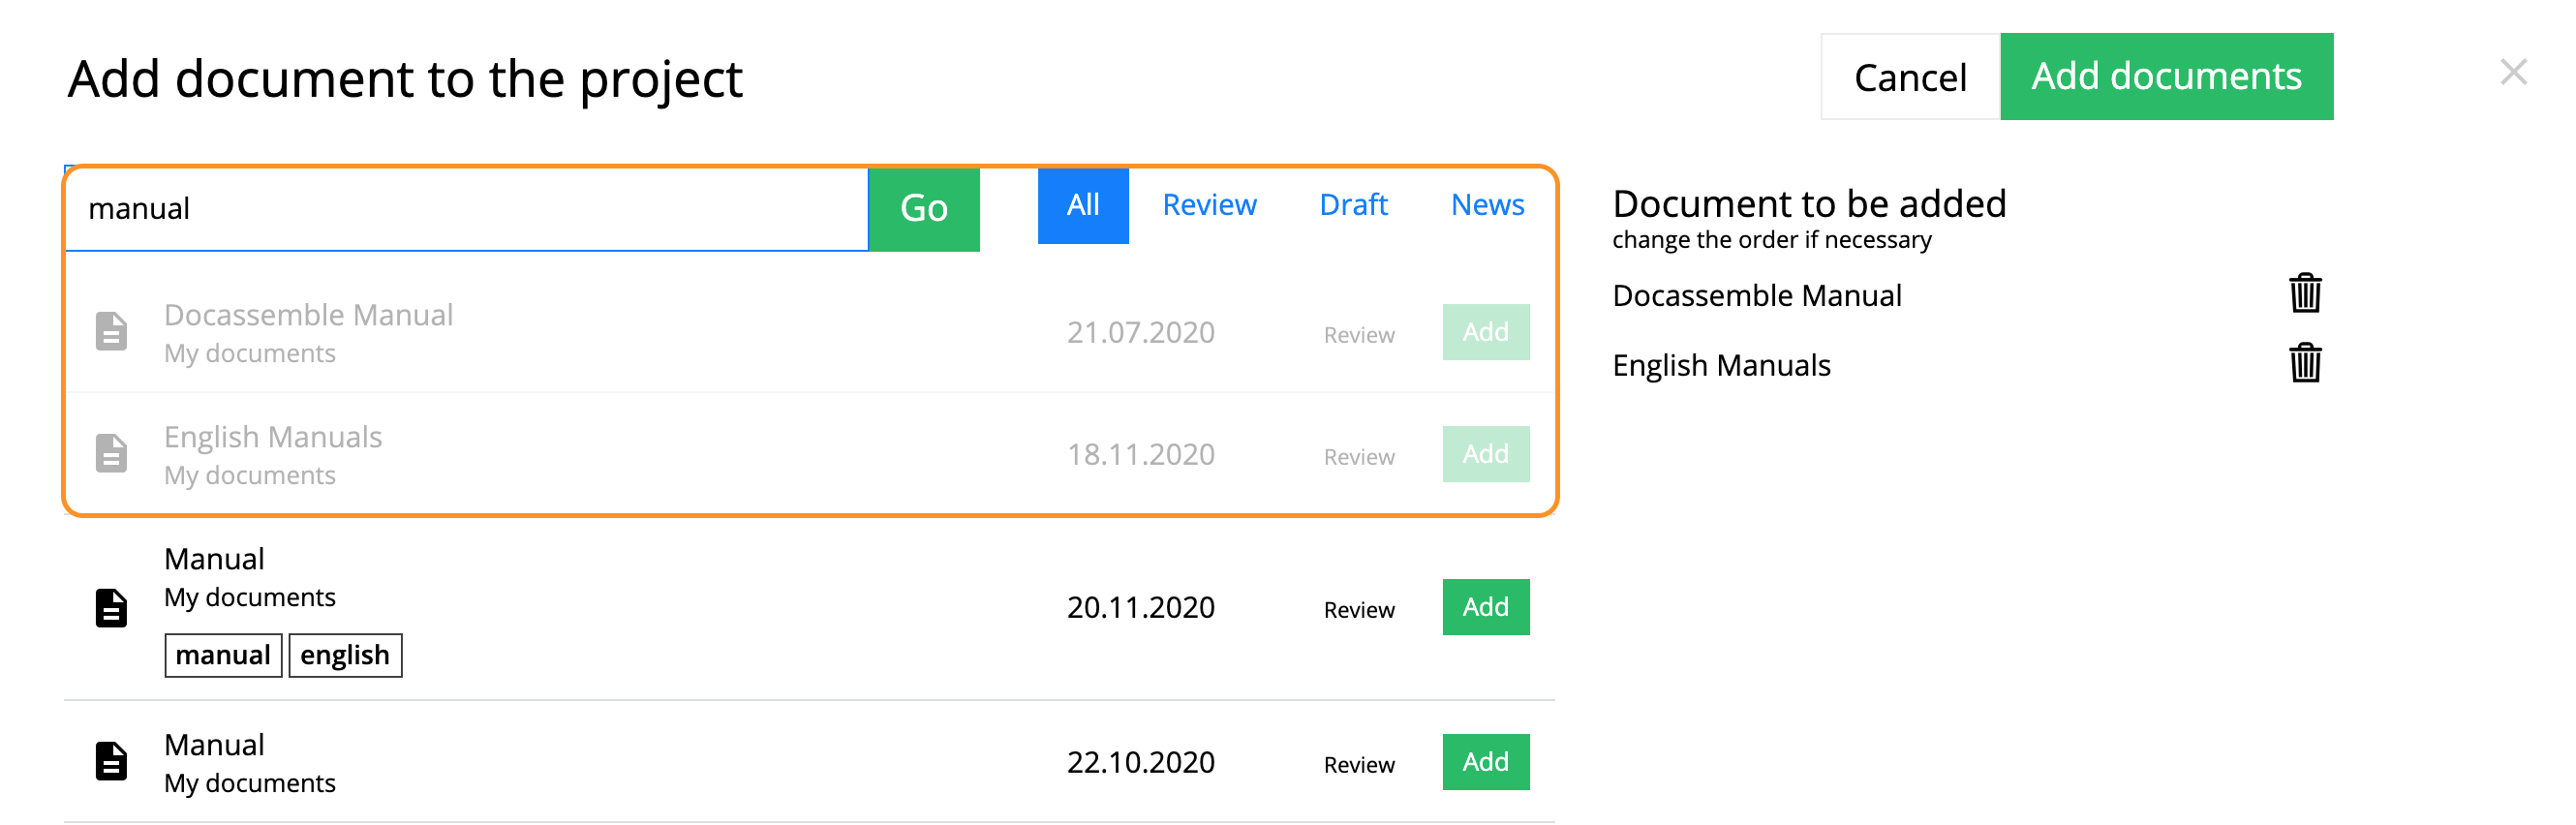
List of documents to be added to the project highlighted
After documents have been added to the project, you can also choose only some of them by ticking the checkbox on the left. Then, pressing on the "Generate" button allows you to create or export your selected documents as a new one.
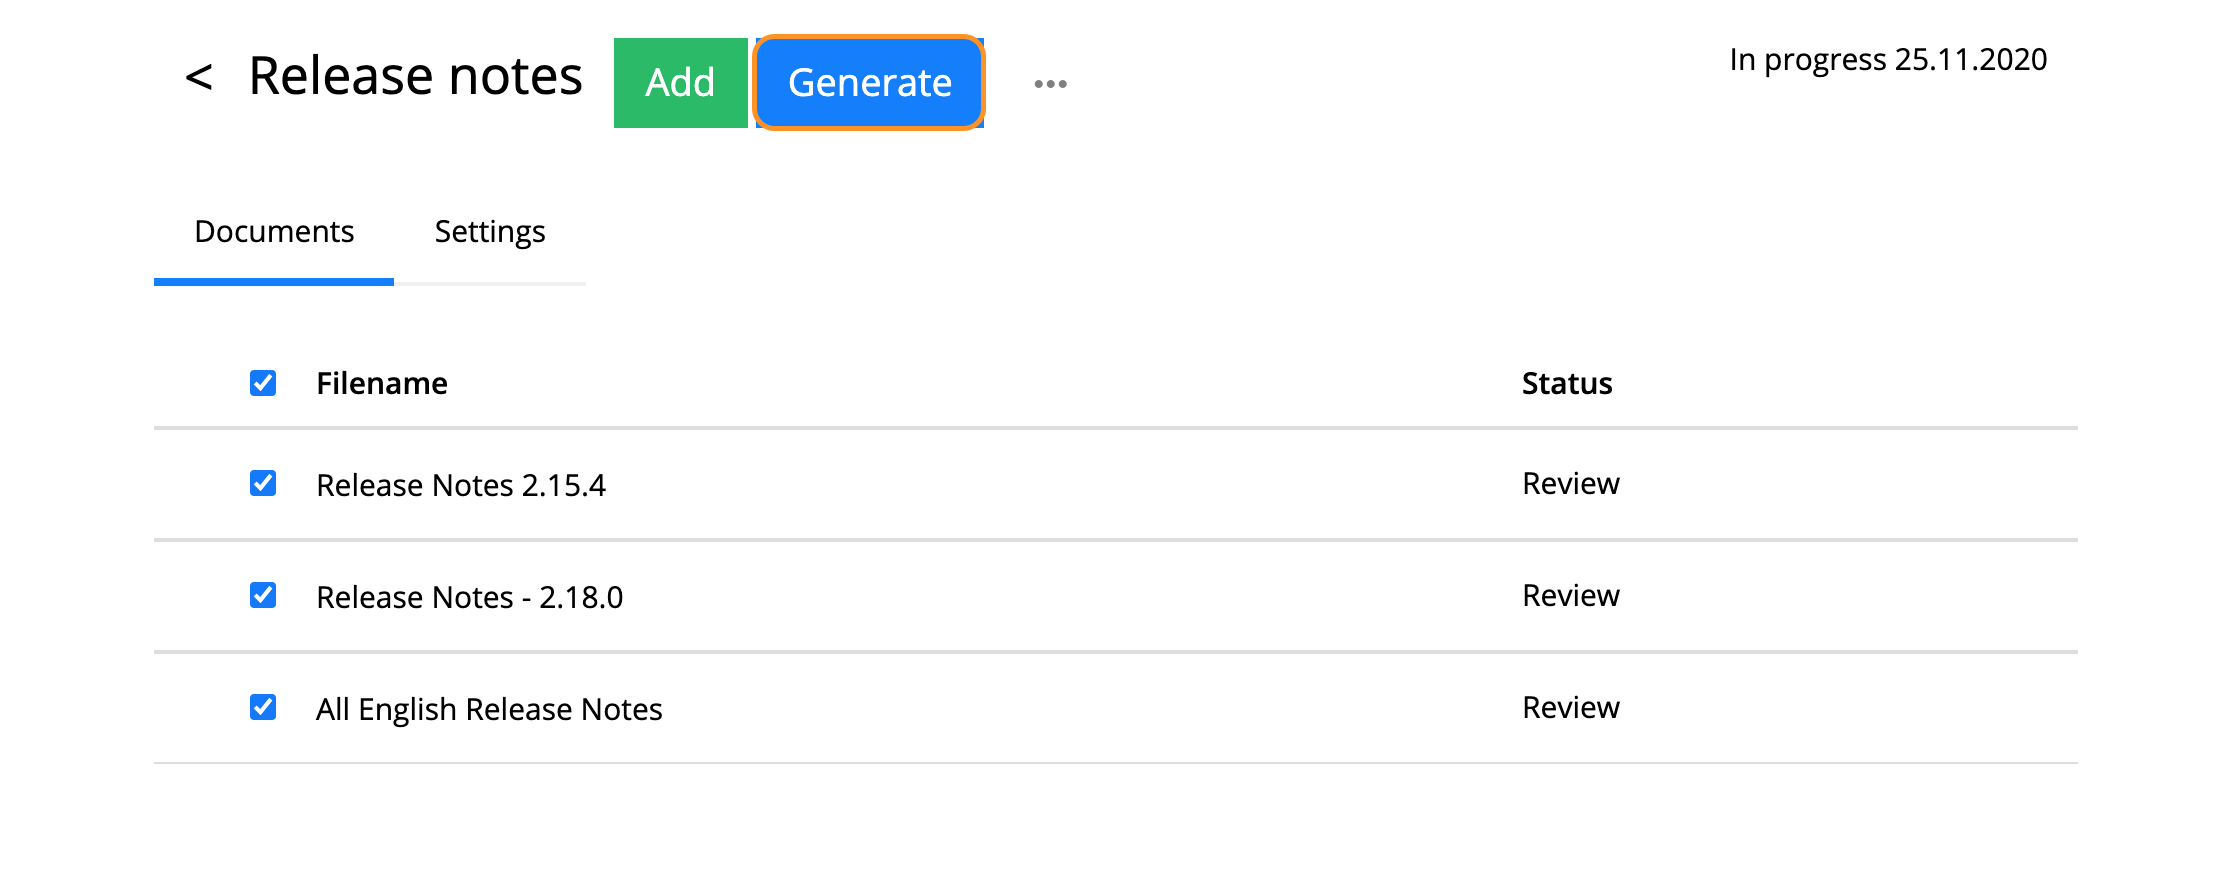
Button "Generate" highlighted in the project
As soon as all required documents have been added to the project, you can also open "Settings" and there decide whether numbering of headings, images, tables, footnotes and equations should be continued or restarted.
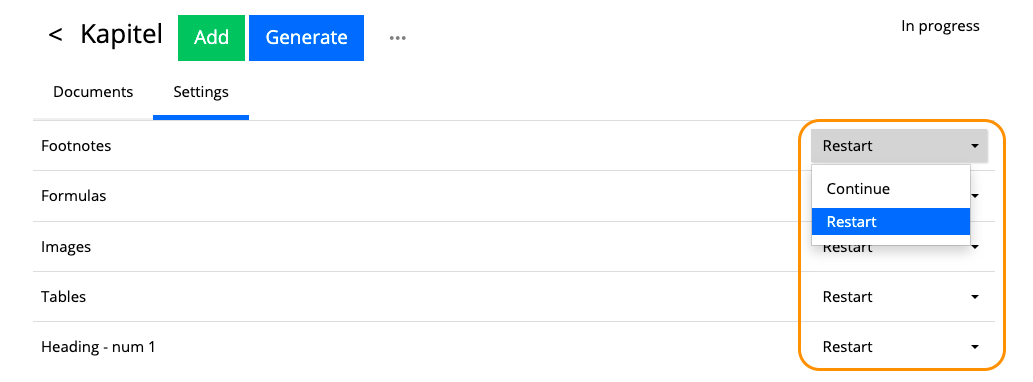
Settings for numbering in headings, footnotes, equations, images and tables
Note: all points where you have set numbering as "Restart" will have corresponding outlook in the exported files only. If you create a project into a new document in SMASHDOCs or into an SDOX file, only headings will be restarted.
The chosen documents will be generated into one document in the same order they are laid out in the project. If you want to change it, arrange the documents accordingly.
4Exporting documents as a single document
There are several possibilities to export the chosen documents as a single document, namely:
●new SMASHDOC - new SMASHDOC will be generated and saved under "My documents". It can additionally be edited as a normal document and only then exported to the desired format.
●exporting to Word
●exporting to PDF (SRZ)
●exporting to PDF paginamedia (xpub-suite)
●ParsX XML file

Different types of export for projects highlighted
You can indicate the name of the project yourself when creating a new SD. In the case with other export formats, the name is automatically taken from the projects name and suffix (book) added. You can erase it and fill in the desired file name.
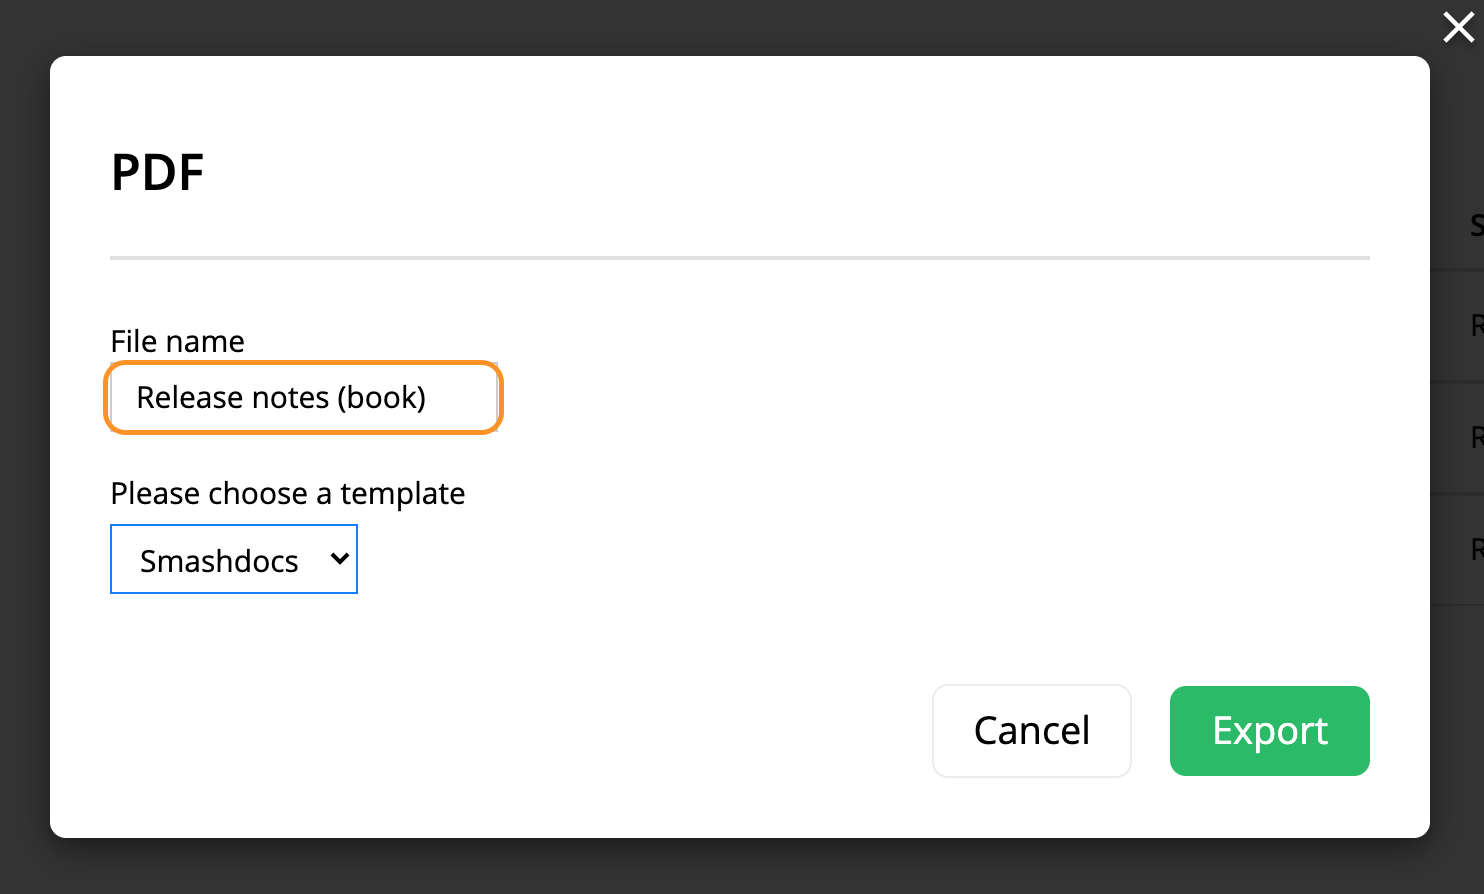
File name of the generated document highlighted
5How to delete projects and documents from projects
You can delete a project, whereby documents from the project remain under "My documents".
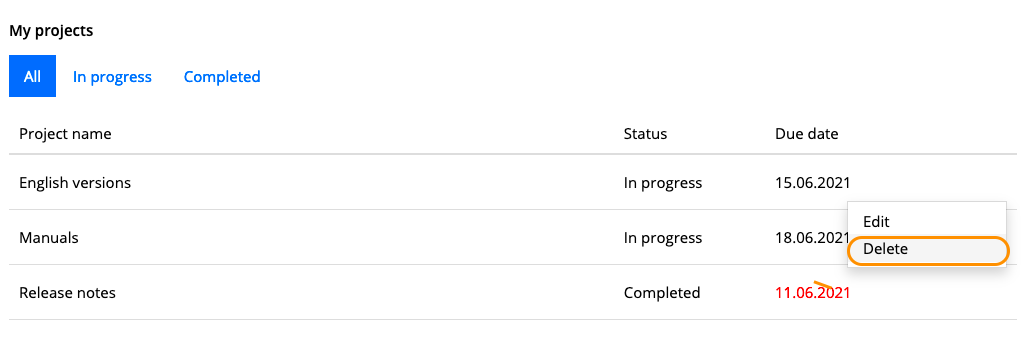
The function 'Delete a project' is highlighted
If you want to delete a document from a project, you can do this, whereby document remains under "My documents".
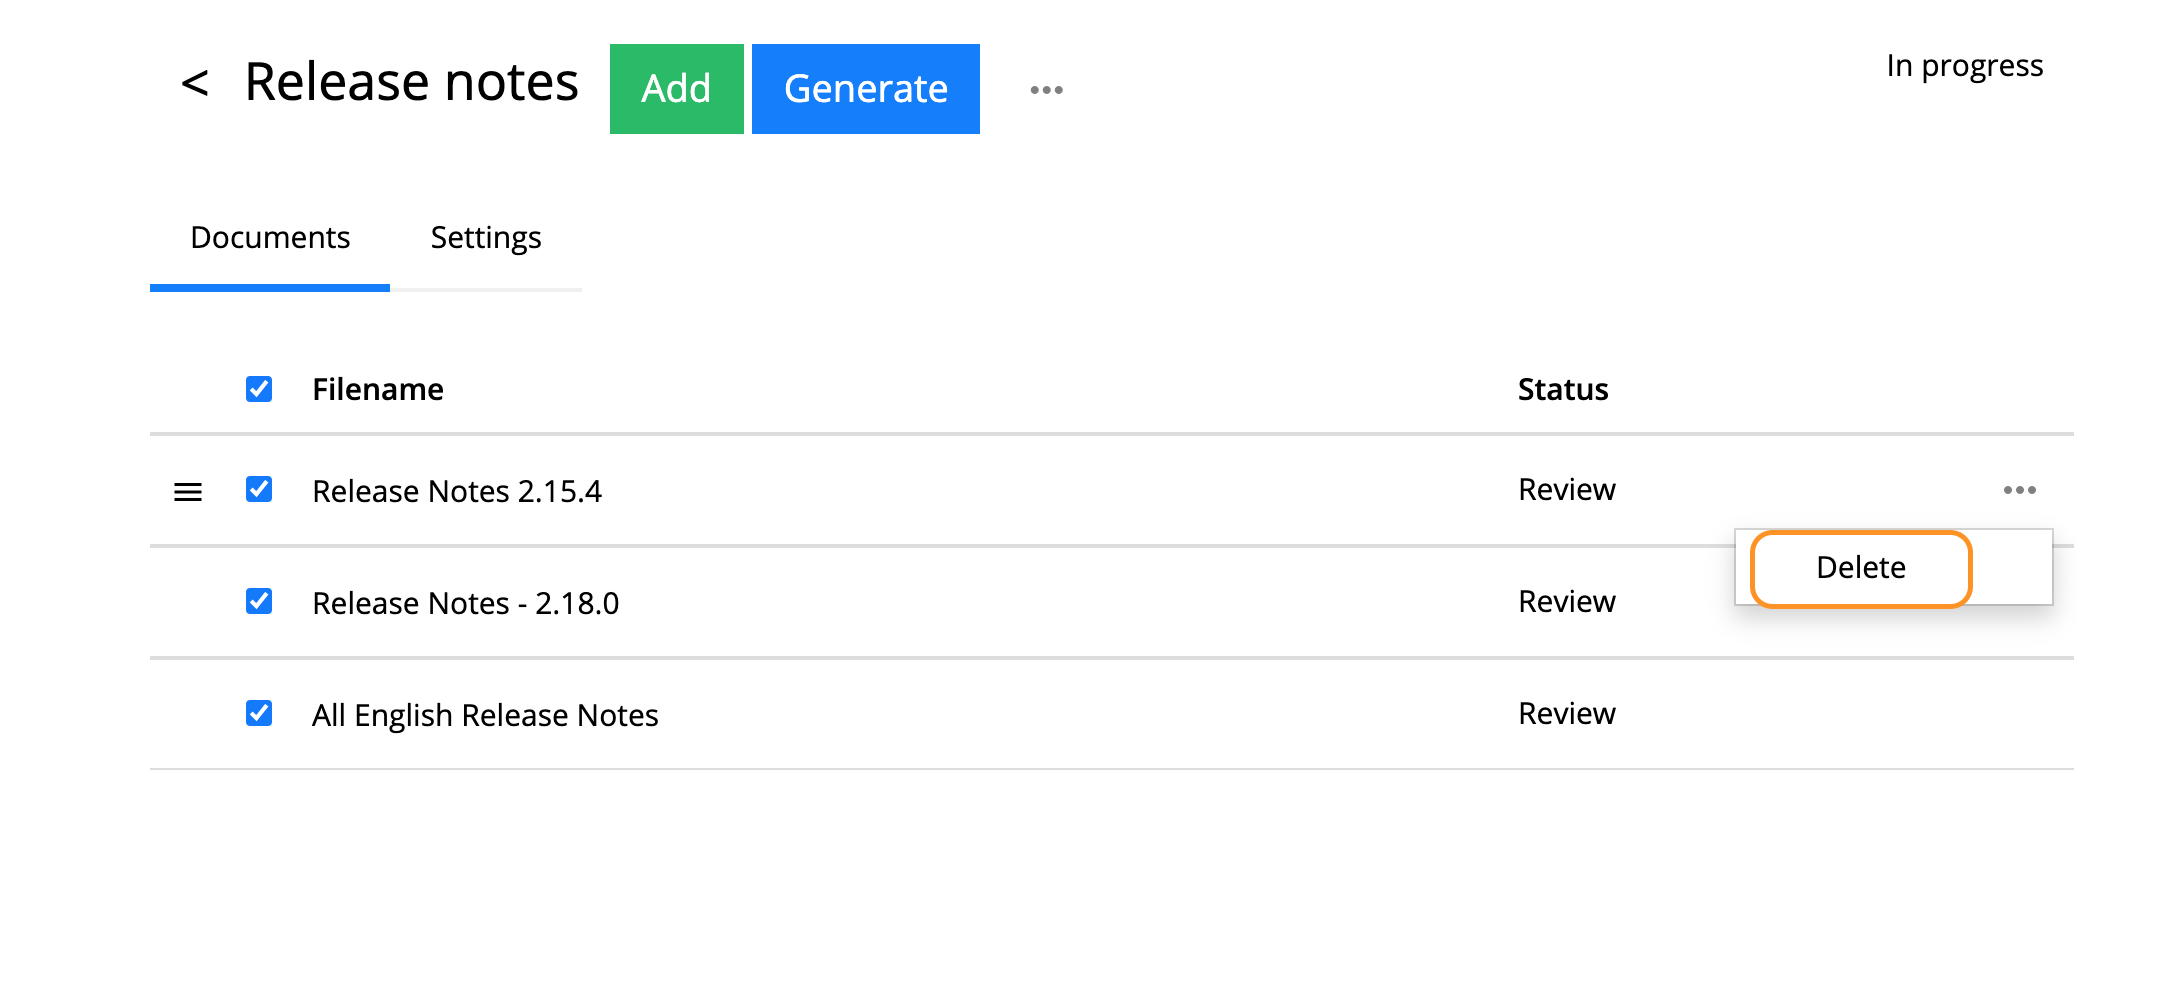
The function 'Delete a document from a project' is highlighted